Spyder IDE
This lesson will teach you how to use the Spyder IDE to write python programs. This course assumes that you have written python programs before, and are already familiar with basic python syntax and data structures.
Why Spyder?
Spyder is short for Scientific PYthon Development EnviRonment and is an open source, cross-platform IDE that is written in Python and used for Python.
In the 'Intro to Python for Machine Learning and AI' course you used IDLE which is a very simple IDE. However, Spyder is better for our needs as it is designed by scientists and is made specifically for data scientists, analysts and machine learning.
Spyder has many useful features for data science including syntax highlighting, code completion, inline display for Matplotlib graphics and much more.
Creating a Project
Let's open up Spyder and learn how to use it.
Open Spyder through Anaconda Navigator, making sure you are in the tensorflow environment.
Alternatively you can use the Spyder shortcut. Make sure to use the tensorflow environment shortcut: Spyder (tensorflow), if you see multiple shortcuts in your search list.

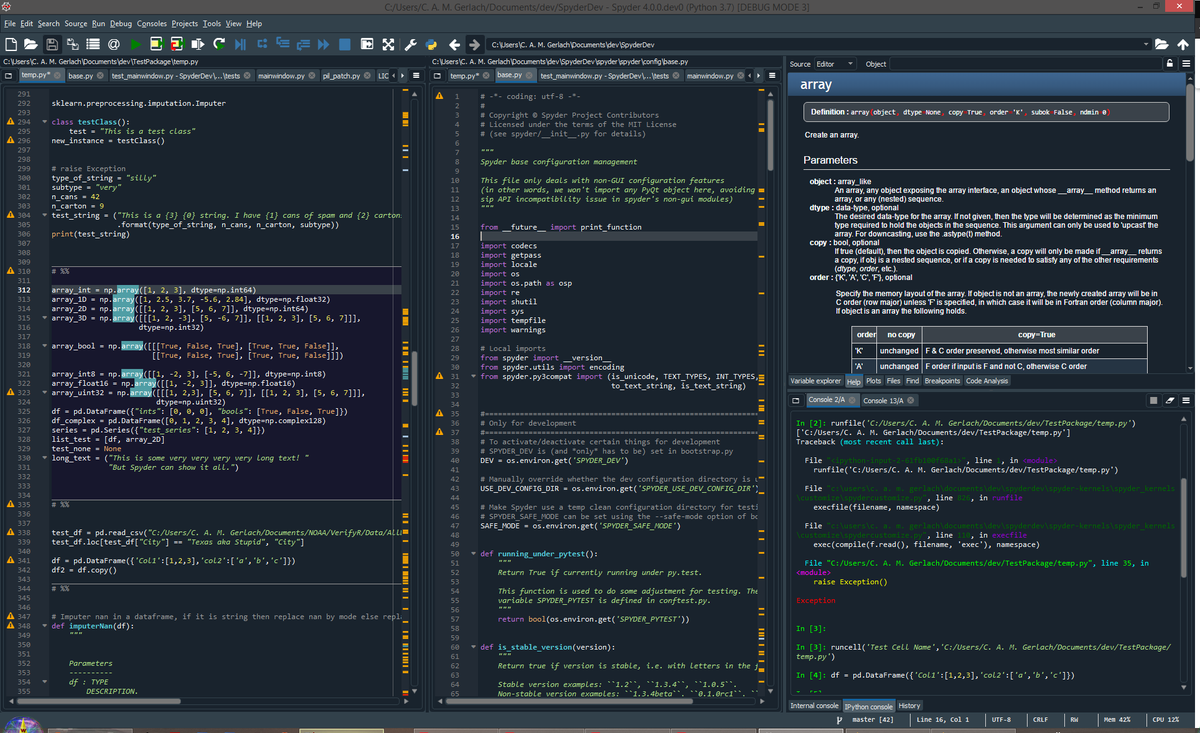
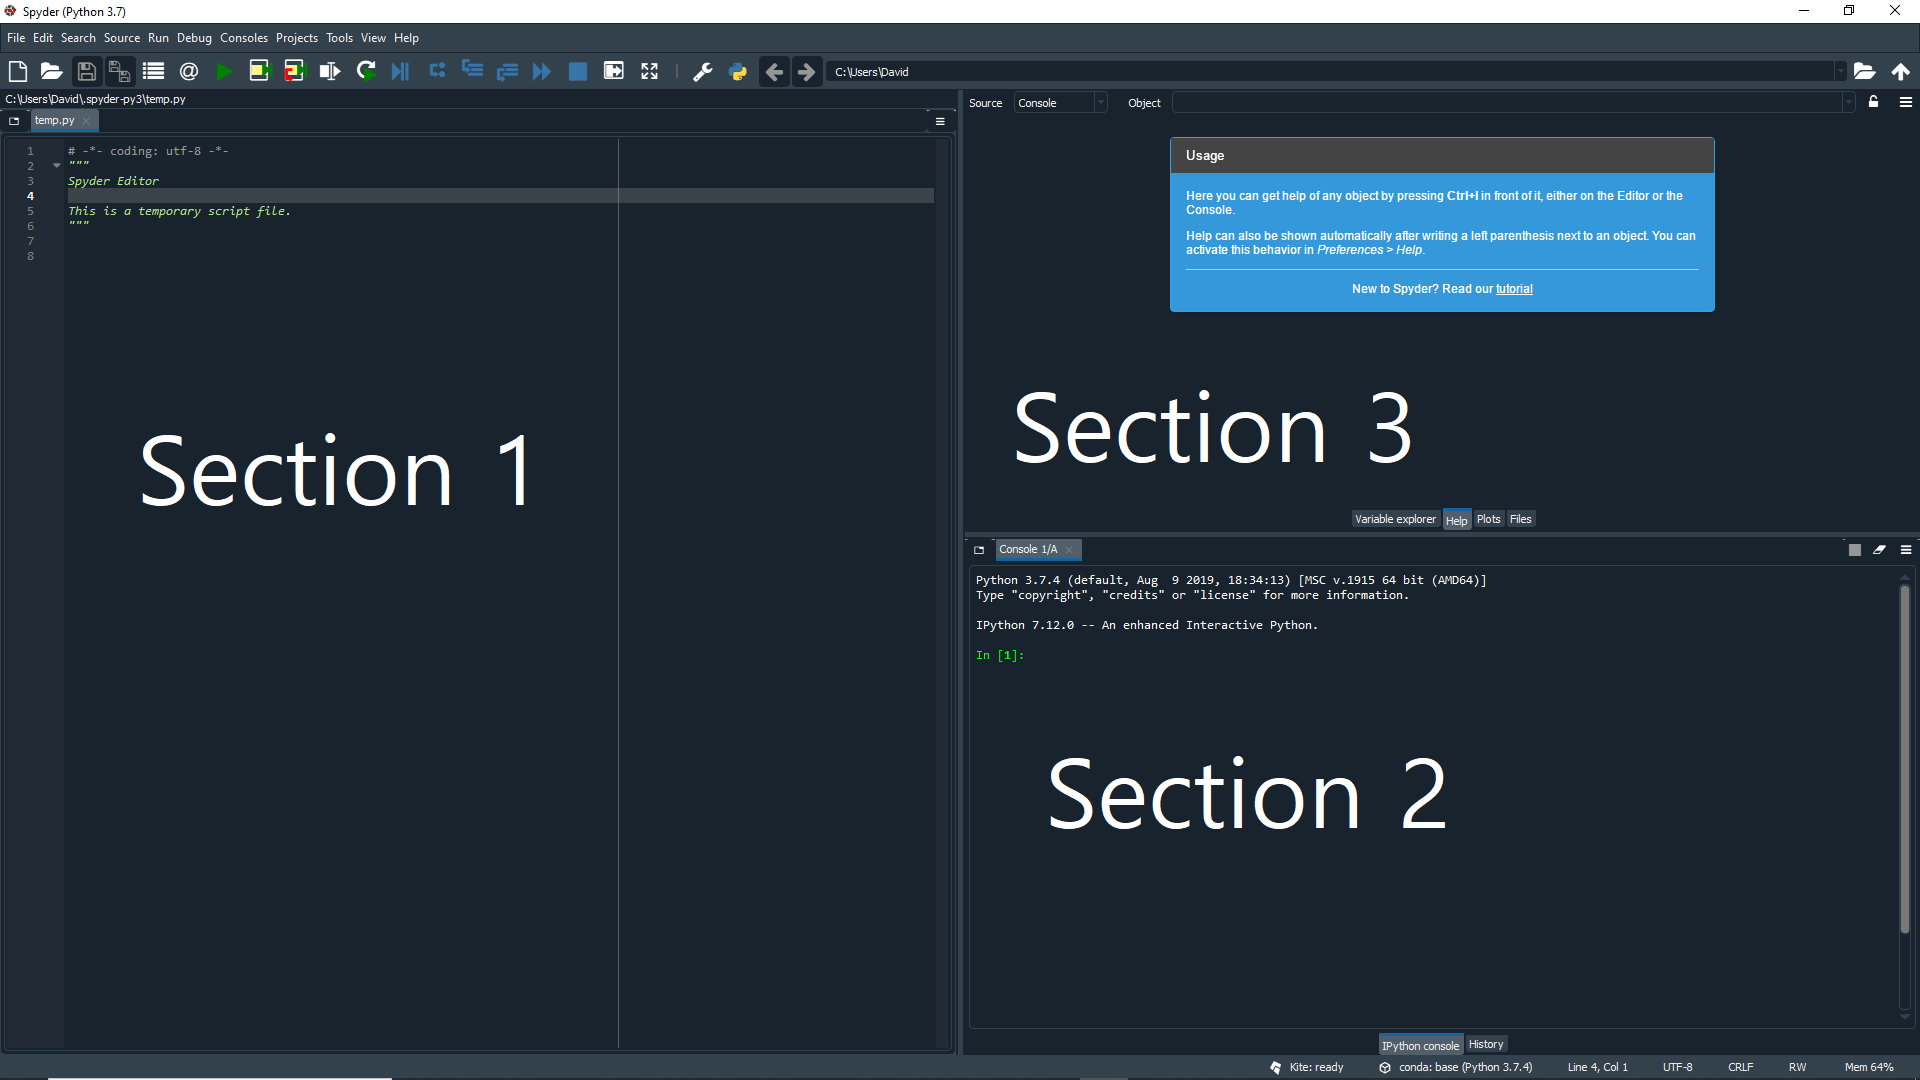
When the IDE opens, you will see 3 major sections:
Section 1: This is the editor pane where you can create or open python files to write code in. This is similar to the files where you wrote code in IDLE.
Section 2: This is the IPython Console where Python code is executed. This is similar to the Shell you used to run code with IDLE.
Section 3: This section has different tabs with different uses. You can ignore this section for now as we will come back to it later.
Now let's get ready to write some code by creating a new project. Before we have just created and saved separate files, but a lot of the time we will need to save files together because they need each other to work.
To do this we can create a project which is just a folder that holds all the python files needed for the program we write.
To create a new project click the Projects tab at the top of the IDE and click New Project...
Then in the pop-up window, type the name of your project (you can also choose where to save it) and click create.
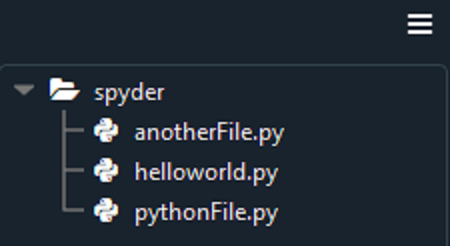
You will then see your project folder in a new panel that appears on the left (called the Project Explorer).
Creating Files
At the moment we only have an empty project so we need to create a file to write code in.
To create a new file click File -> New file... or click the New file icon or press CTRL + N on your keyboard.
Your new file will open in the editor pane and there will be a tabs above the editor pane for each of your open files.
When you create a new python file, Spyder automatically puts some template text on the top, indicating the text format of the coded, the date the code was initially create, and the author. You can leave these in the file, or you can remove them.
To save your file click File -> Save or click File -> Save as... or press CTRL + S on your keyboard.
The pop-up window will bring you to your project folder. Type what you want to name your file and click Save.
Remember to add the file extension (.py) to save it as a python file.
Writing Code
Now we can finally write some code! Let's start with a simple print statement.
Start writing print and you will notice that a pop-up box appears showing you all the arguments that can be passed into the method.
This is useful if you are using a function but forget what values can be passed into it.
Lets finish our print statement by writing Hello World inside the parentheses. Don't forget to press CTRL + S to save your changes. (Command + S on Mac. In the future whenever you see CTRL, for a mac you will be using the Command key.)
Another great feature of the IDE is that if you make an error in any line, there will be a error symbol before the line number and a message that describes the error.
Now let's run the code by clicking the green play button in the tool bar at the top.
Alternatively you can just click Run -> Run in the menu bar at the top or press F5 on your keyboard.
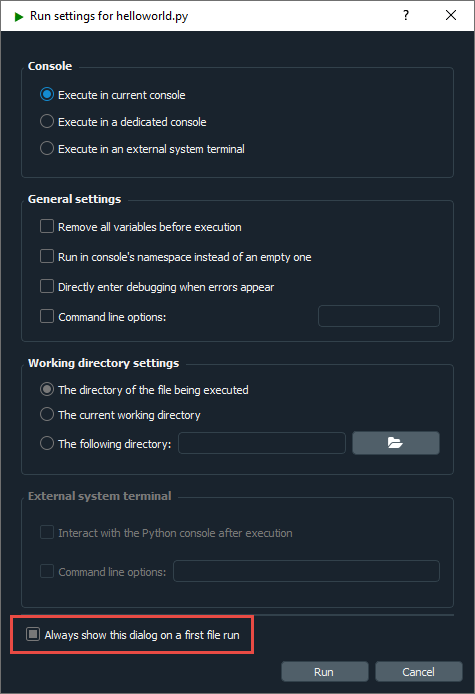
The first time that you run the code, you will be shown a pop-up window for the run settings. You can uncheck the
Always show this dialog on a first file runbox if you don't want to see this window the first time you run any new files you create. After you click Run, you won't see this window again for this file.
You will then see the output in the IPython Console.
Sometimes the console can become cluttered with print outputs or error logs.
We can clear the console by right-clicking inside the pane and selecting Clear console.
Alternatively you can just left click inside the IPython console and press CTRL + L
Now let's learn about the 3rd section of the IDE. This section has different tabs with different functions.
Help Tab
This tab gives you useful information about any object by pressing CTRL + I in front of it, either in the editor or the console.
Variable Explorer Tab
This tab shows all the global object references (e.g. modules, variables, methods etc.) of the current IPython Console.
Let's make a few variables to demonstrate this. Make 3 variables:
a = 20 b = 20.0 c =Word
Now run the file and go to the Variable explorer tab. You will see the name, type, size and value of each variable in the program.
Files Tab
This tab is a file system and directory browser that allows you to browse, open, and perform other management tasks.
Here you can see all the directories and files that are present.
Plots Tab
This tab will show the graphical output of programs when using modules such as Matplotlib.
You will learn how to use this tab in later lessons.