Machine Learning Environment Setup
This lesson will teach you how to setup your own computer for machine learning with Python.
Install Anaconda
We have designed this course to be compatible with Chrome and Firefox web browsers. If you are using a different web browser, we recommend you download and open the site in Chrome or Firefox before continuing.
You can Download Chrome Here or Download Firefox Here.
For basic Python programming, the default python install is sufficient. If some extra packages are needed, we can easily install most through the Pip package manager.
However, Pip can only install and manage packages written in Python. This is a problem because some of the packages needed for machine learning are not written in Python so cannot be installed through pip.
Thankfully, Anaconda and Conda solves this problem. Anaconda is a Python distribution mainly used for data science. Conda is a package and environment management system, which is used by Anaconda.
Conda is similar to Pip but better because it not only allows for installation of packages for any language, it also creates a virtual environment for Python to run. This means that you can easily change the Python version you are using without having to uninstall and reinstall different versions manually.
The best part is that it is cross-platform. This means that it does not matter if you are using Windows, Mac or Linux, it still works the same.
To get started, download the Anaconda installer for your OS.
Make sure you select an installer for Python 3.7 or higher, and select the Graphical Installer.
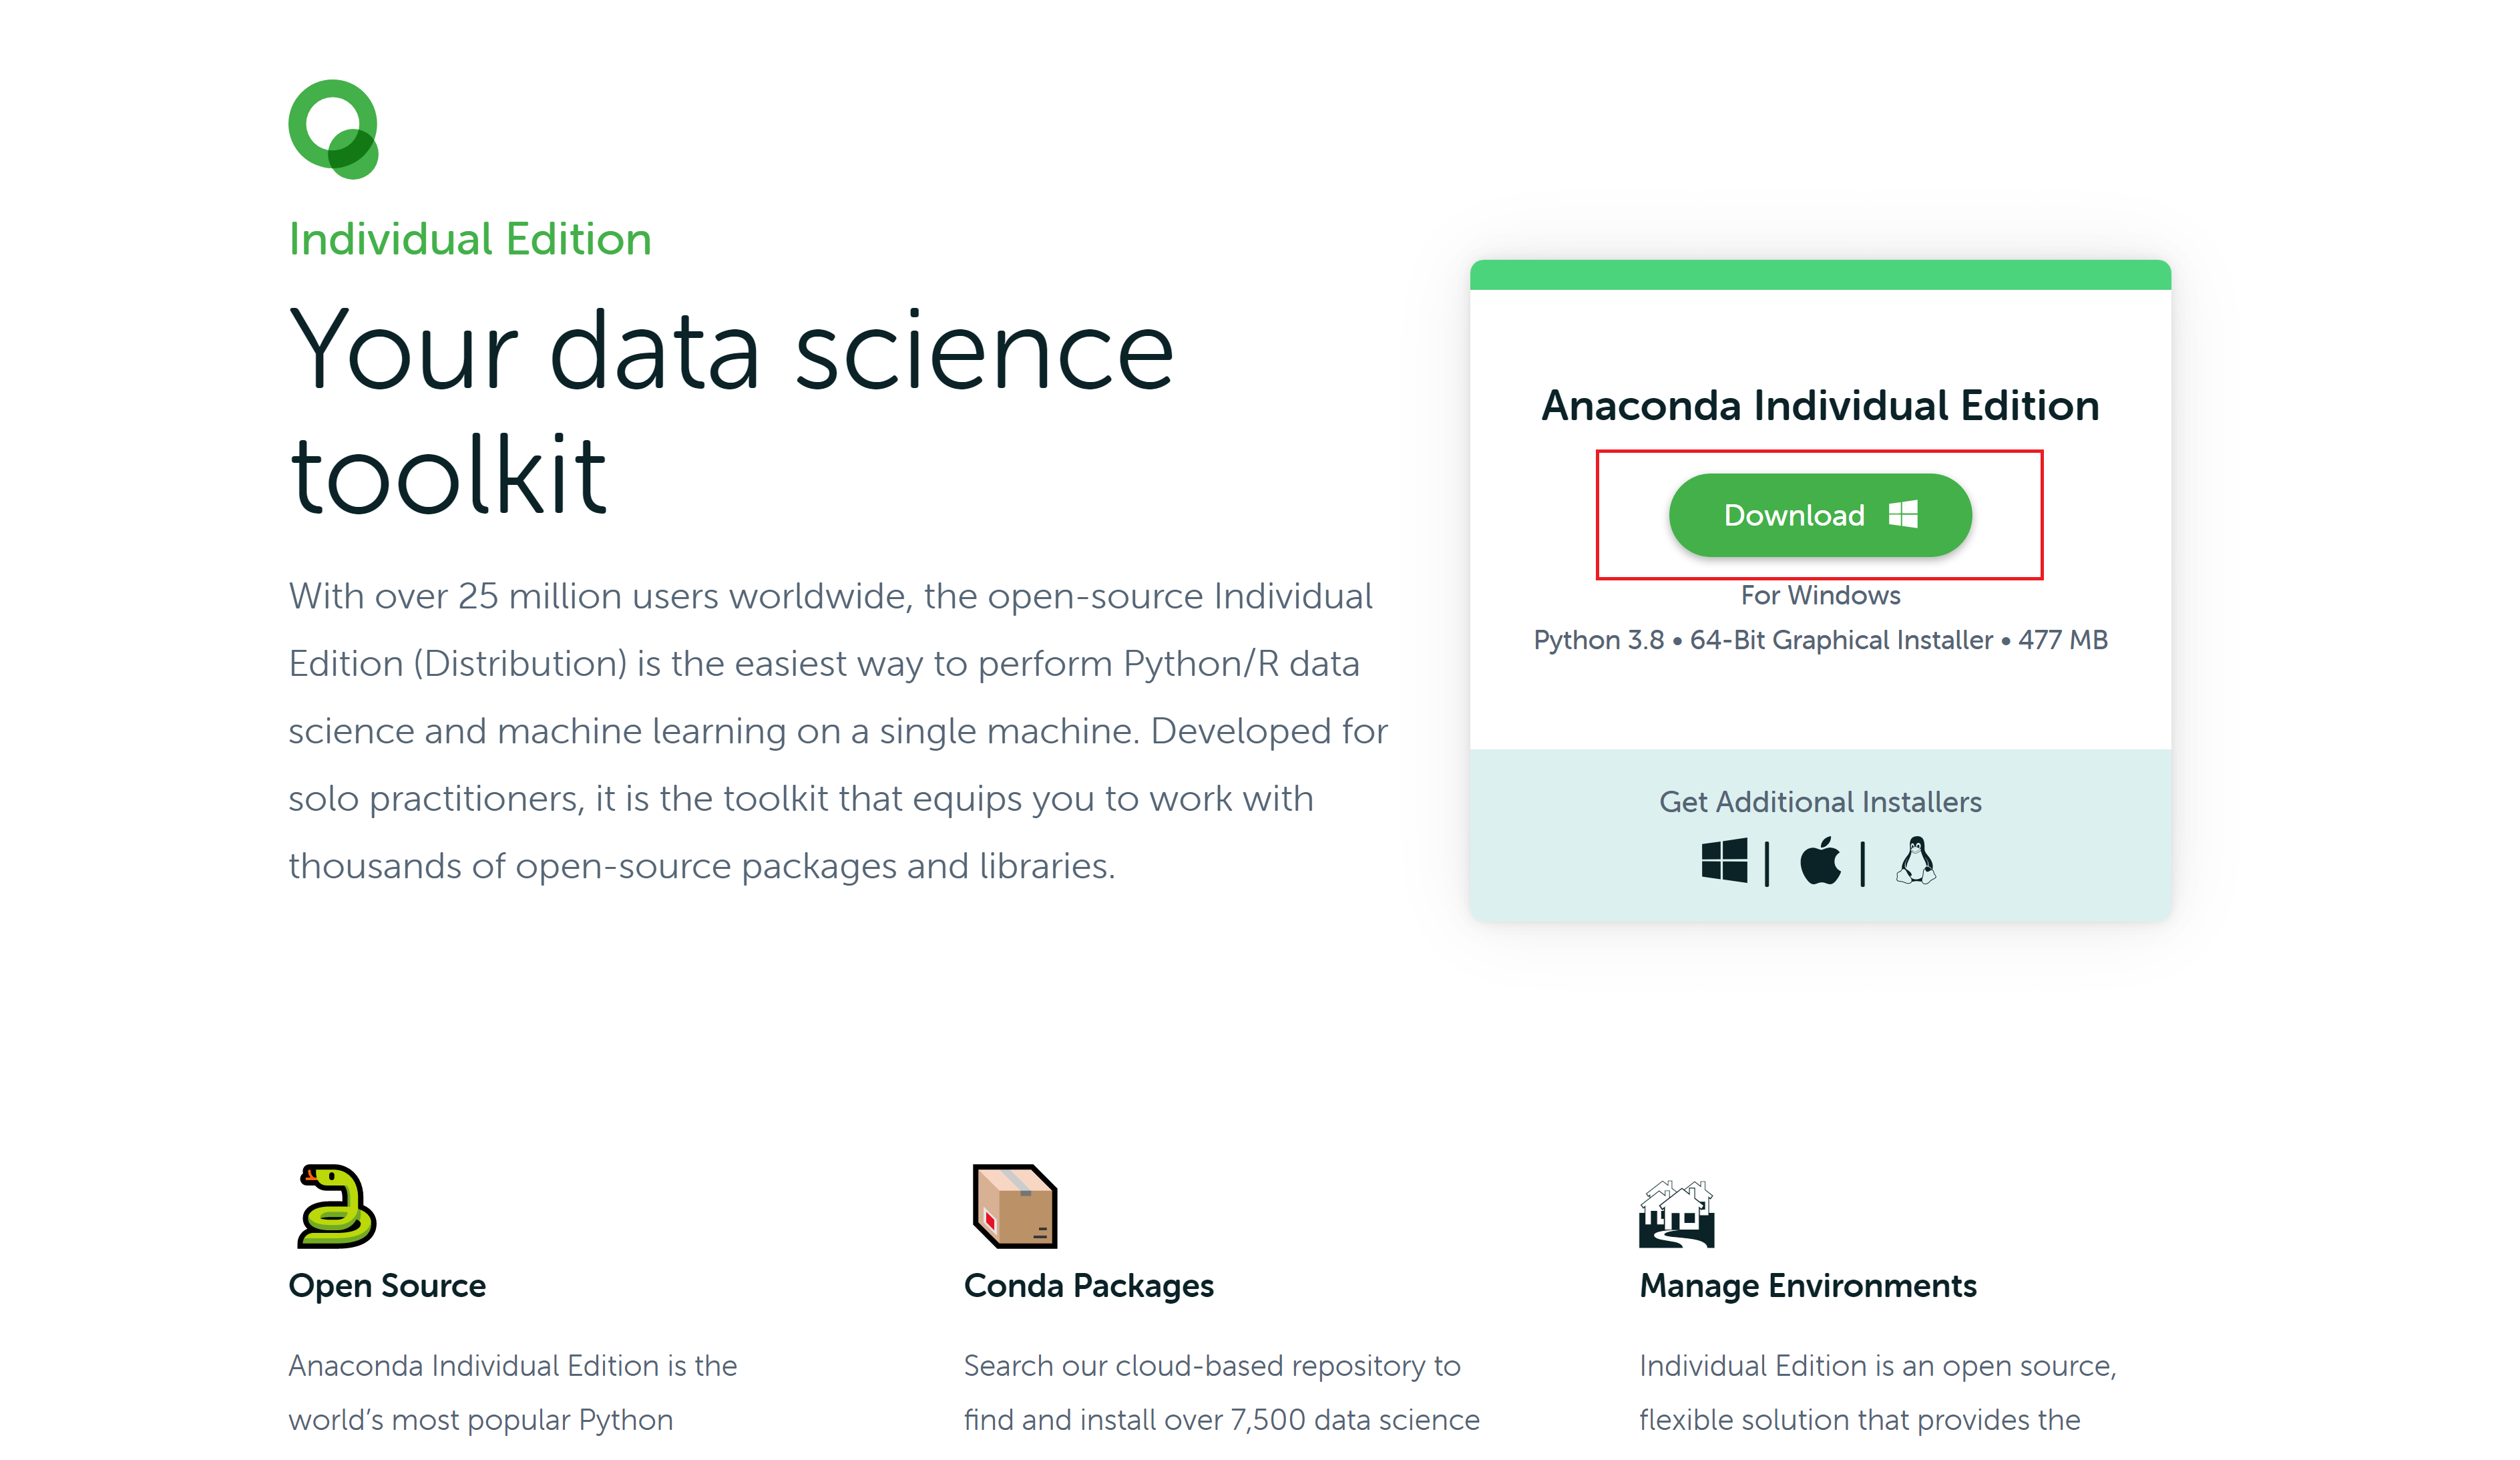
Once the download has finished, run the installer and follow the installation instructions.
Do not change any of the default installation settings.
Anaconda Navigator
To make our lives easy, Anaconda comes installed with a graphical user interface called Anaconda Navigator.
Navigator is basically the interface to Conda so will allow us to easily manage packages.
Starting Navigator
Windows:
From the Start menu, click the Anaconda Navigator desktop app.
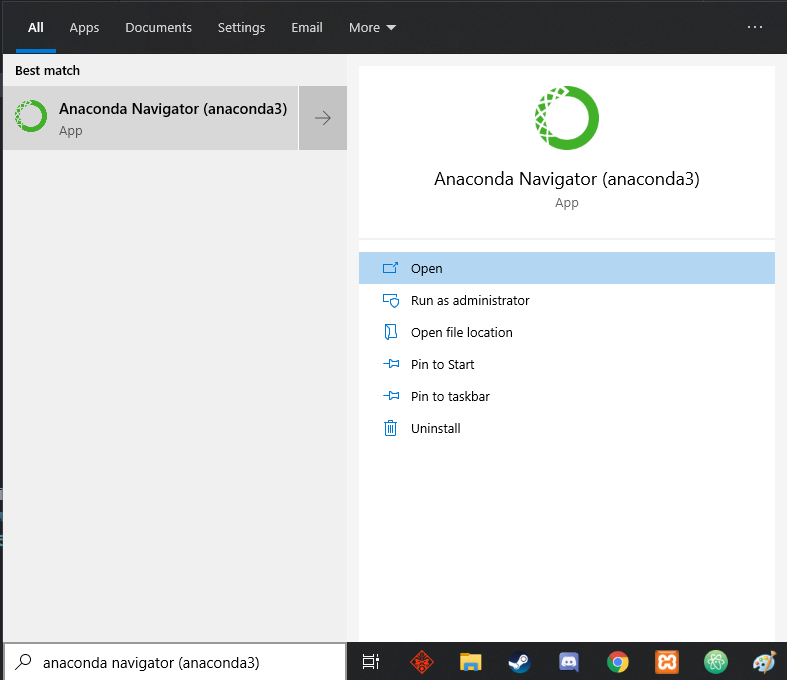
Alternatively, you can search for and open Anaconda Prompt. This is Anaconda's own command line.
You can then enter the command anaconda-navigator which will open the Anaconda Navigator App.
MacOS:
Open Launchpad, then click the Anaconda-Navigator icon.
Alternatively, open Launchpad and click the terminal icon. Then in the terminal, type anaconda-navigator.
When you first open anaconda you may see a prompt asking if you would like your usage information to be gathered.
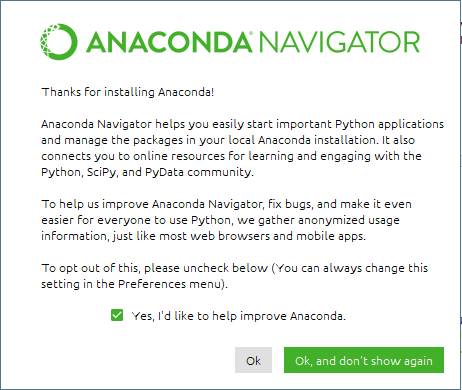
Read this, then check the box according to your preference and press Ok.
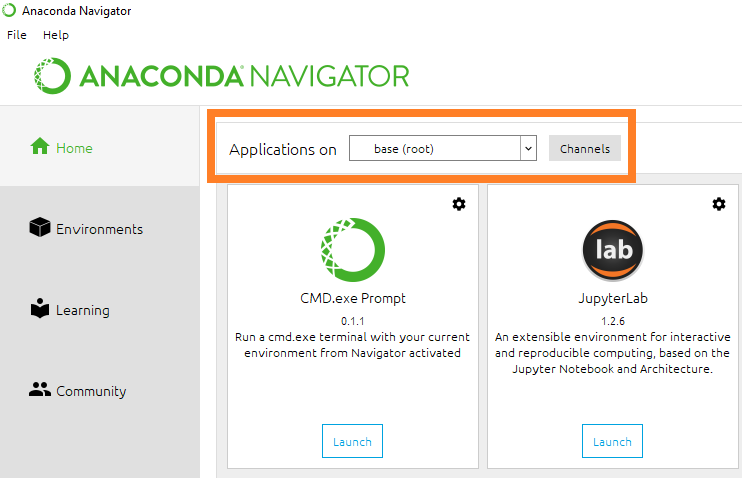
You will then be presented with the Home page of the Anaconda Navigator which will allow you to launch programs and change your environment.
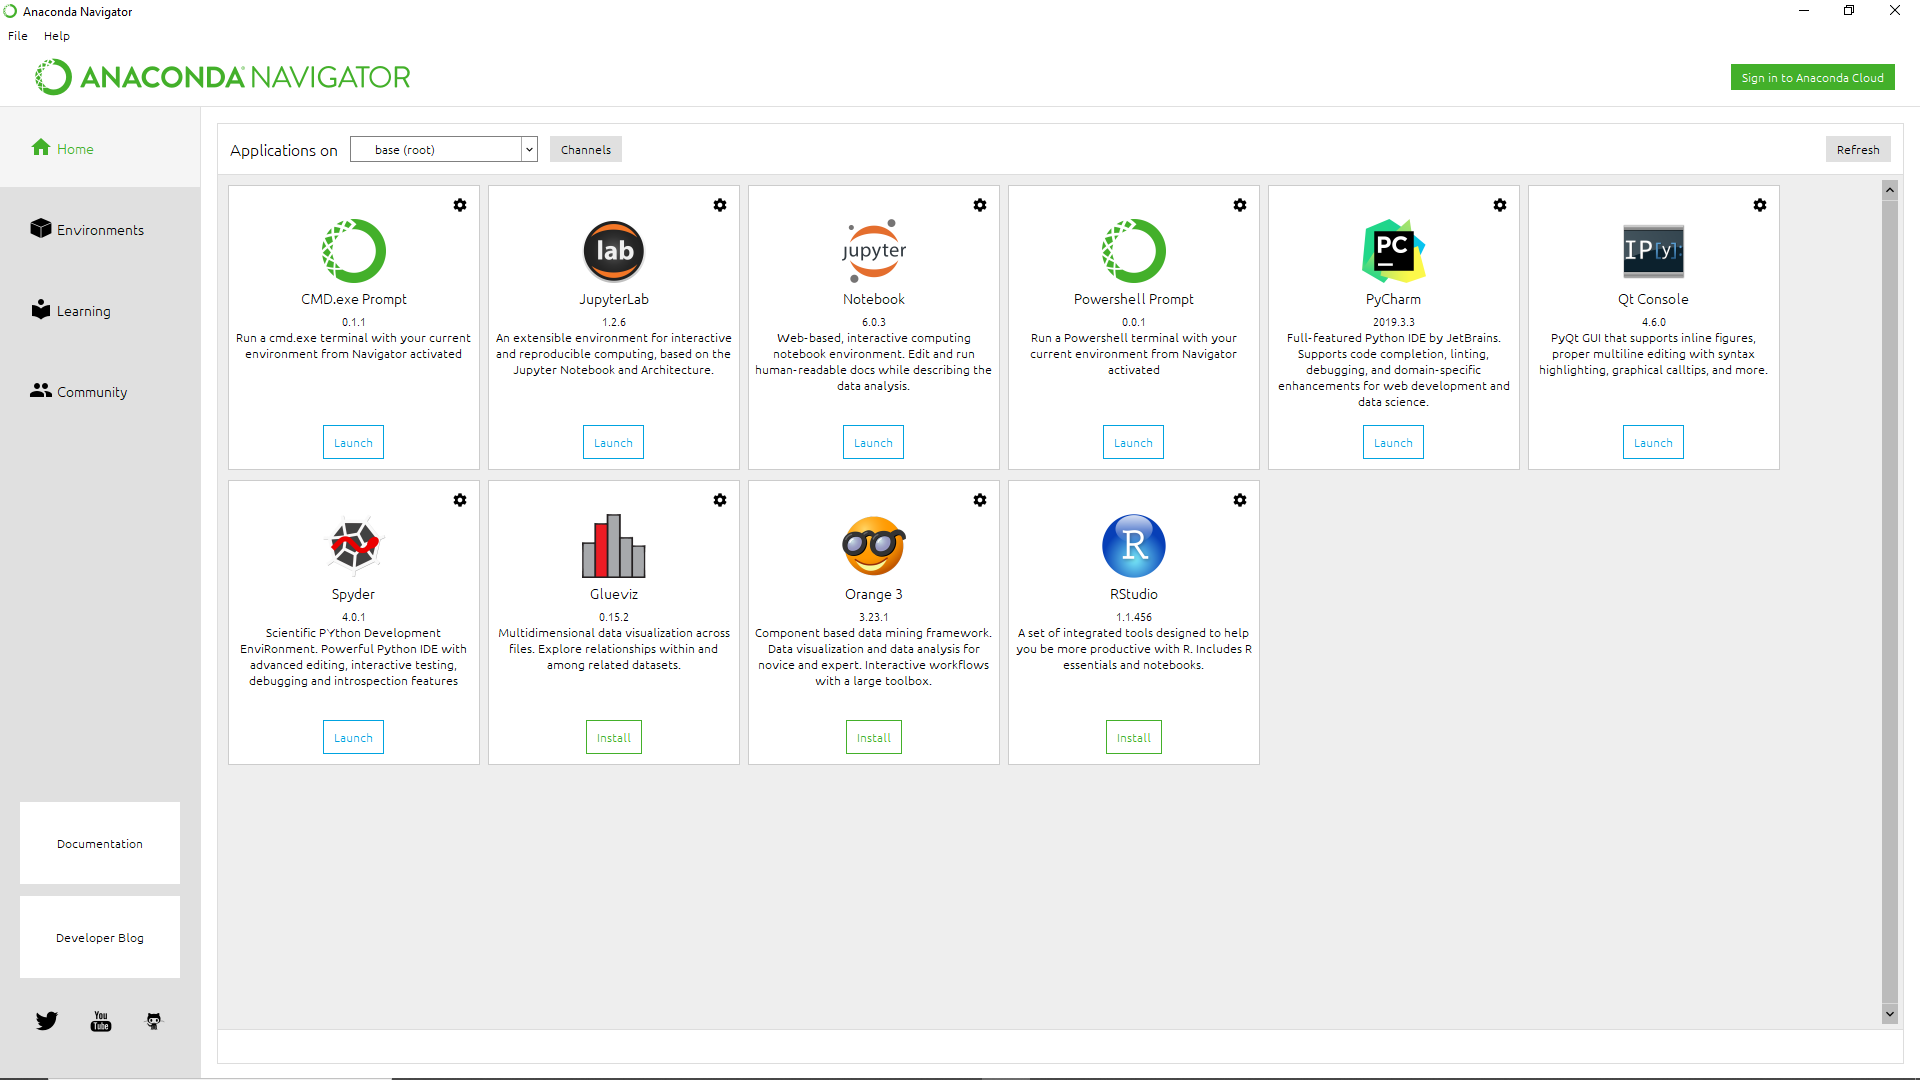
Let's talk about what an environment is and how to setup your environment.
Environment Setup
A conda environment is a directory that contains a specific collection of conda packages that you have installed. Different Python environments can have different versions of Python and different versions of packages.
If you look at the home page of Anaconda navigator, you will see that Applications on is set to base (root). As the name suggests, this is our root/base environment which is created by default.
It is very useful to have different environments in order to avoid possible package conflicts or packages causing problems to your system. If you change one environment, your other environments are not affected. Therefore we can keep incompatible package versions separate and only use a certain environment when we require it.
For example, we will be using packages called TensorFlow and Keras. However, they are not currently supported in the newest version of Python. Therefore, we will create a new environment with Python version 3.6 specifically for use with Keras and TensorFlow.
To create a new environment, go to the Environments page and click on Create. You will then see a window appear where you can enter the details of your new environment.
Change the name of the environment to tensorflow and click Create.
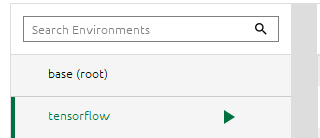
You will now be in the new environment that we called tensorflow. You can tell which environment is currently active by the green arrow next to the environment name.
You can also tell by looking on the Anaconda Home page and seeing the environment name next to 'Applications on'.
It will also have a tick next to it when you open the drop down menu.
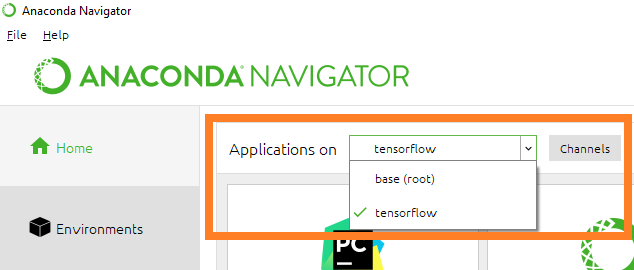
We can easily switch between our environments either by clicking the drop down arrow next to 'Applications on' and selecting the environment you want to be active.
Alternatively, you can go to the Environments page and click on the name of the environment you want active.
It will take a few seconds to switch environments.
On the environments page you may also notice that each environment has a separate list of packages. By default, when you install Anaconda, the base environment comes with many packages preinstalled.
When we create a new environment, only the starting packages are installed. Therefore we need to manually install the packages that we need.
Before we install packages, let's change the Python version to 3.6.
To do this, go to the Environment's page and make sure you are in your tensorflow environment.
You may need to click the Update Index... button if the next step does not work.
Then in the packages list, click the checkbox next to python and select mark for specific version installation.
Finally, select version 3.6.10 from the list, click Apply in the bottom right of the page and then click Apply in the pop up window.
Installing Packages
- Numpy - This may already installed as a dependency of Keras.
- Pandas
- Matplotlib
- Scikit-Learn
- Seaborn
- NLTK
- Requests - This may already installed as a dependency of Keras.
- BeautifulSoup4
Now we have the right version of Python for this environment, let's install our packages, starting with Tensorflow and Keras.
You can search for packages by going to the Environment's page, clicking the drop down menu on Installed, then select Not installed.
Then click on Update index... to see all packages that are not installed. You can then search for the package name in the search bar.
Type in tensorflow and you will see the search results appear. Then select the boxes next to the packages with the names Tensorflow and Keras, then click Apply.
These packages will then appear in your installed packages list.
After you have installed keras, change the version of keras to 2.1.5.
Now that you have Tensorflow and Keras installed, we need to install the other packages that will be used throughout the course. Clear the search field to see all results again.
Here is a list of all the packages you need to have installed:
Make sure you are in your Tensorflow Environment then search for and install all of these packages. (Except the ones that are already installed)
Take a look at the Anaconda Cheat Sheet for more information on Anaconda.
Spyder IDE
Now we have everything installed with Conda, we need to install an IDE (integrated development environment) to write our programs in.
You have already used IDLE to write programs, which comes installed with the default Python distribution. However, for the 'Machine Learning and AI with Python' course, we will use a different IDE called Spyder.
Spyder is short for Scientific PYthon Development EnviRonment and is designed specifically for Python data science which is perfect for our uses.

Spyder is actually the default IDE for Anaconda and comes preinstalled on the base environment. However, since we are using a new environment, we need to install it manually.
To install the Spyder IDE, go to the home page and you will see the Spyder Application.
Simply click Install and wait for it to finish installing.
Launching Spyder Through Anaconda Navigator:
Now that you have Spyder installed, you can open the software by clicking the Launch button. (Make sure you are in the tensorflow environment!)
However, this method will require you to open Anaconda Navigator first then launch Spyder from there which can take some time. Plus, we really only need Anaconda Navigator when dealing with packages or environments.
Therefore, an alternative and quicker method to open Spyder is to launch it through the Spyder shortcut.
Launching Spyder with the Shortcut:
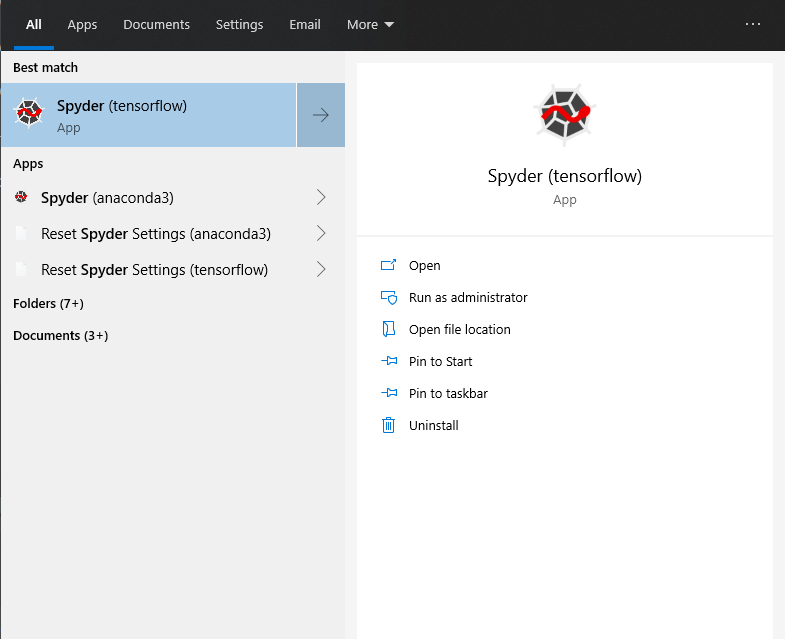
You can do this by searching for Spyder in your computers search line and selecting the one that has (tensorflow) next to the name.
The other Spyder shortcut (anaconda3) is for the base environment which we will not be using.
When Spyder opens you will see a few windows which will be be explained in the first lesson of the 'Machine Learning and AI with Python' course.
You may see a window that asks if you want to install 'Kite'. Kite is a plugin for IDEs that improves code completion for Python and gives you more information while you code.
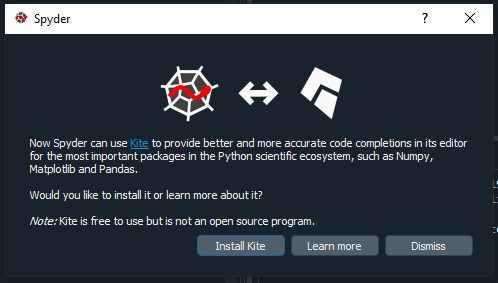
Installing Kite will make writing code easier and faster so install it if you wish. You can learn more about Kite here.
If you do install Kite then restart Spyder for it to work. You may see a file called 'kite_tutorial.py' which teaches you how to use Kite.
Now you have everything installed and are ready to learn 'Machine Learning and AI with Python'.
Installing Pygame
Pygame is a package that you will need to install that cannot be installed through the anaconda navigator. In order to install it, you will need to use the terminal or anaconda prompt depending on your OS.
If you know of a python package that is not available within anaconda navigator, you can always install it using this same pip method.
Windows:
From the Start menu, search for and open Anaconda Prompt. This is Anaconda's own command line.
Then, type in the following commands
activate tensorflow
pip install pygame
MacOS:
Open Finder > Applications > Utilities > Terminal
Then, type in the following commands
conda activate tensorflow
pip install pygame