Unity Environment Setup
This lesson will teach you how to setup your own computer for game development with Unity3D.
Introduction
In terms of computers, an environment is just the state of the computer based on the software, hardware and settings that it has.
Before you can do game development from your own computer, we need to make sure the environment is ready.
This means that your computers hardware, software and settings must be compatible and configured correctly.
This lesson will contain instructions for setting up Unity for Windows and Mac.
We have designed this course to be compatible with Chrome and Firefox web browsers. If you are using a different web browser, we recommend you download and open the site in Chrome or Firefox before continuing.
You can Download Chrome Here or Download Firefox Here.
Hardware Requirements
Game development can be intensive on a computer. Therefore you need to make sure that your computer has sufficient requirements.
| Minimum Requirements | Windows | macOS |
|---|---|---|
| Operating System Version | Windows 7 (SP1+) and Windows 10, 64-bit versions only. | Sierra 10.12.6+ |
| CPU | X64 architecture with SSE2 instruction set support (Intel Core i5 or better) | X64 architecture with SSE2 instruction set support (Intel Core i5 or better) |
| Graphics API | DX10, DX11, and DX12-capable GPUs (NVidia or AMD) | Metal-capable Intel and AMD GPUs |
| Free Disk Space | 80GB of free disk space | 80GB of free disk space |
Software
There are many different software, tools and packages that are used for game development.
In this course we are using Unity3D and the easiest way to download the necessary software is through Unity Hub.
Unity Hub is an application that allows you to find, download and manage Unity projects and installations.
Installing Unity Hub
To get started, download Unity Hub for Windows or macOS.
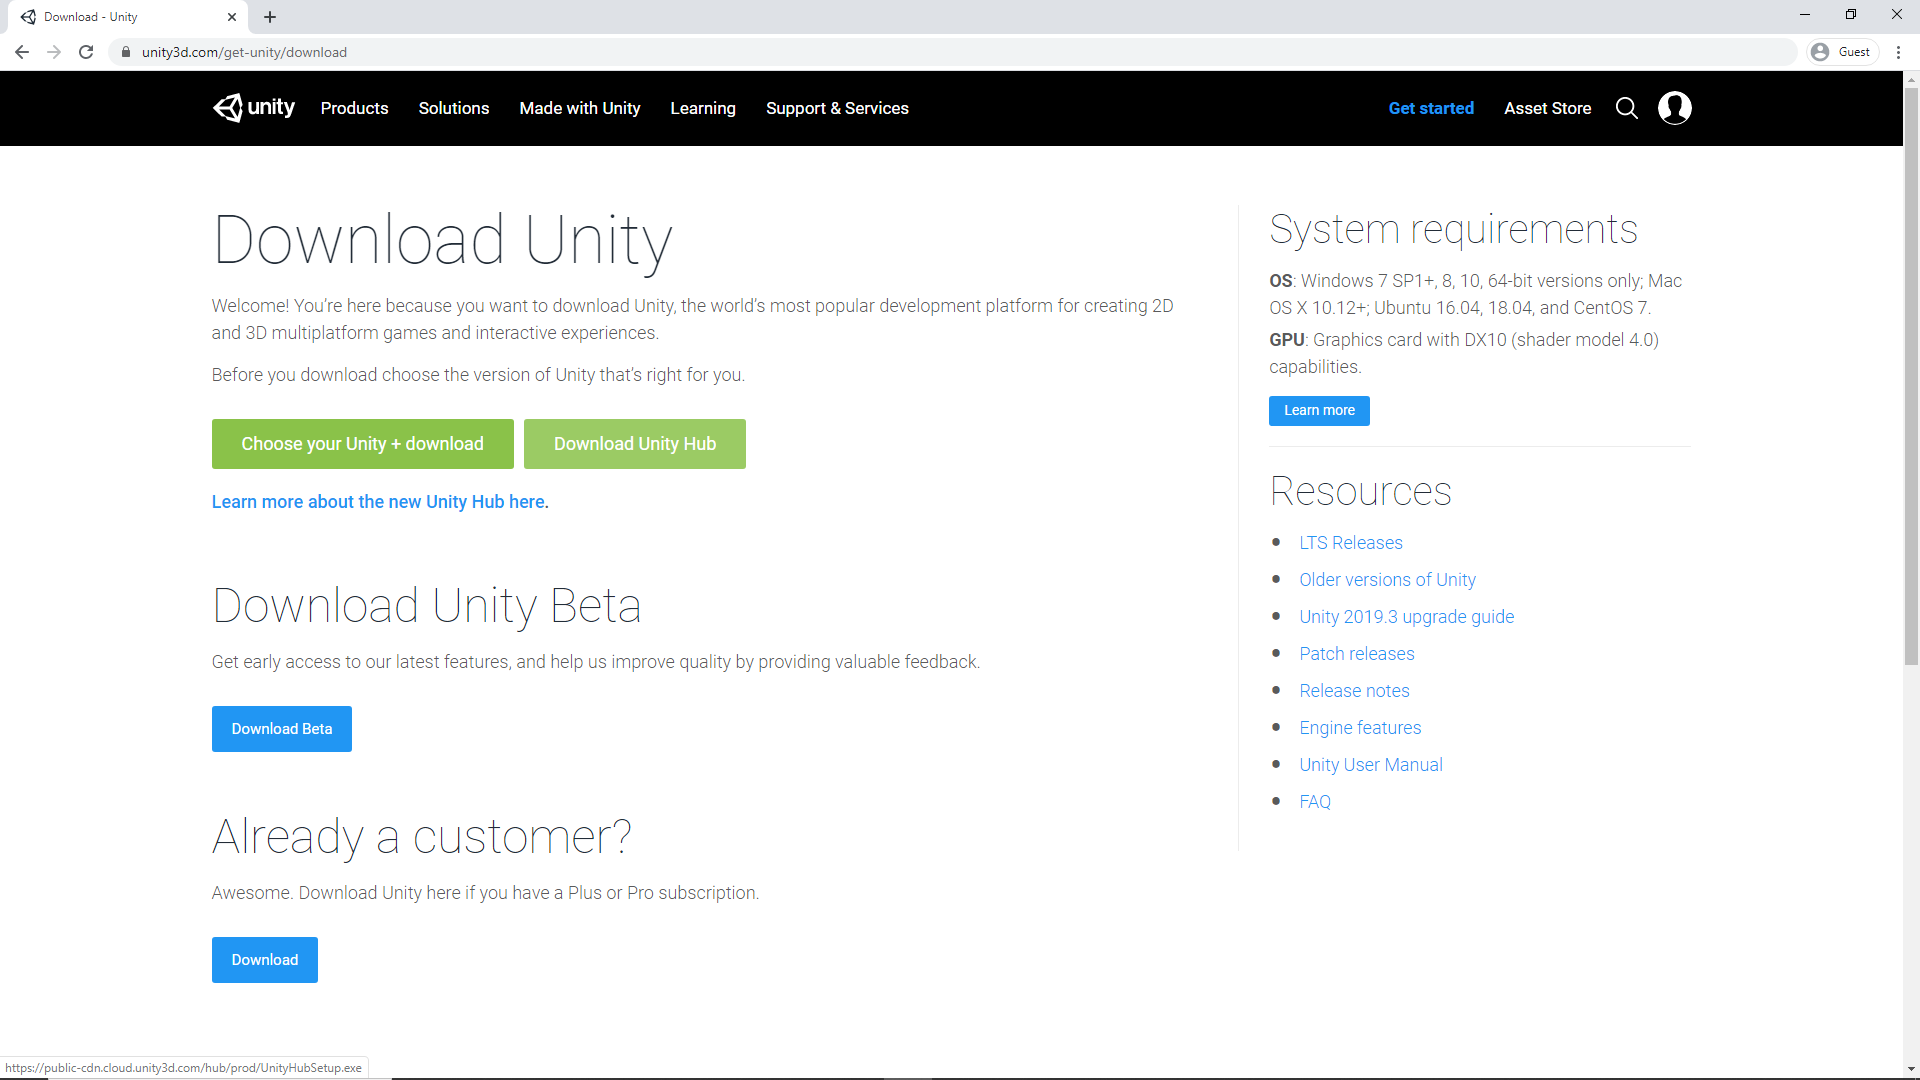
Once the download has finished, run the installer and follow the installation instructions.
Activating Unity License
After you install and open Unity Hub, you will need to activate a license for Unity. For this course, you will use the free personal license.
To begin, click the gear icon to access the preferences menu.
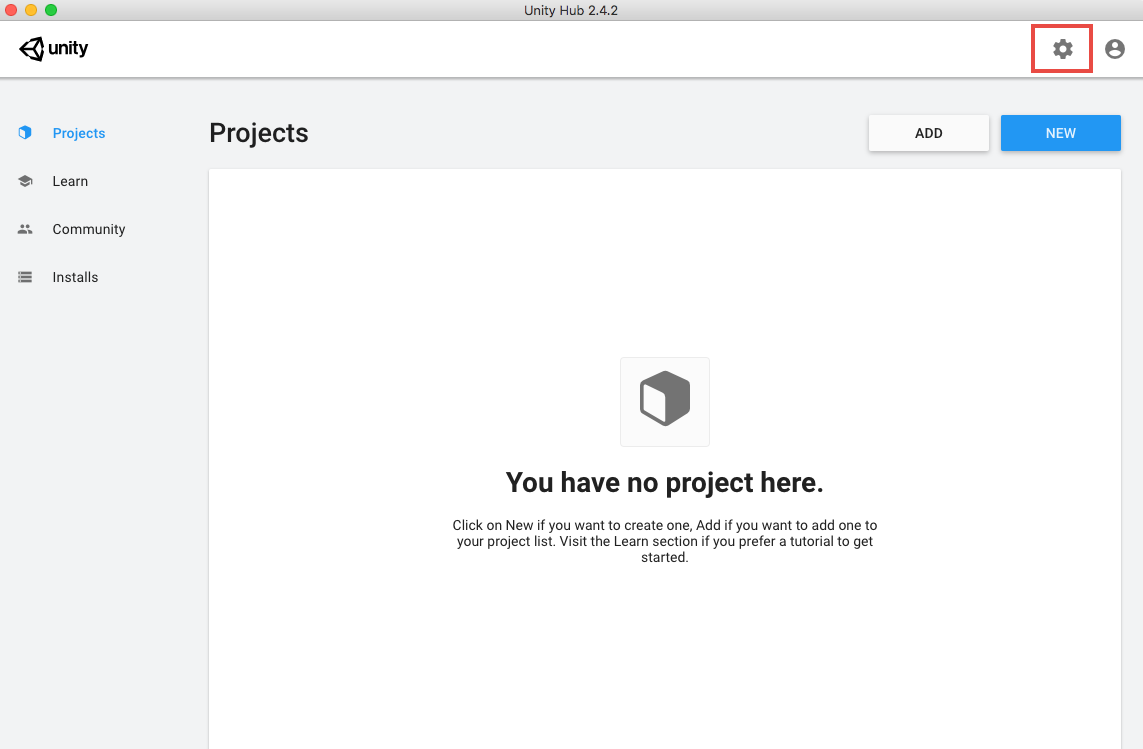
Make sure that you are in the License Management area of preferences, and then click
MANAGE LICENSE.
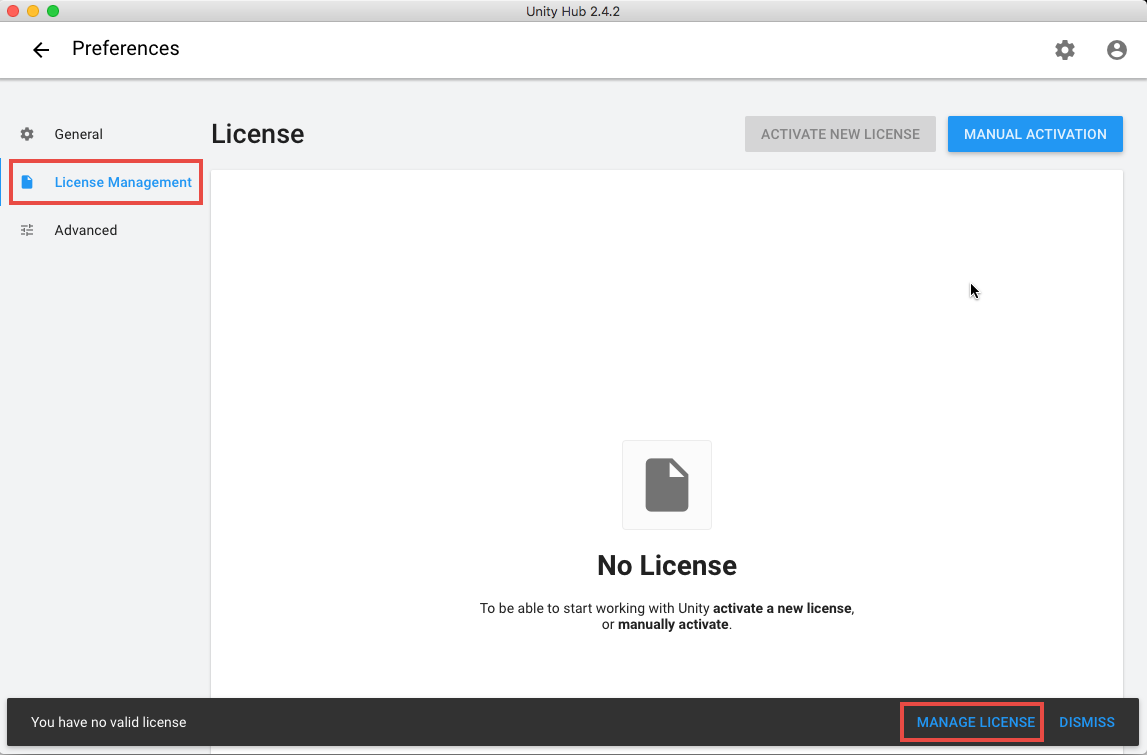
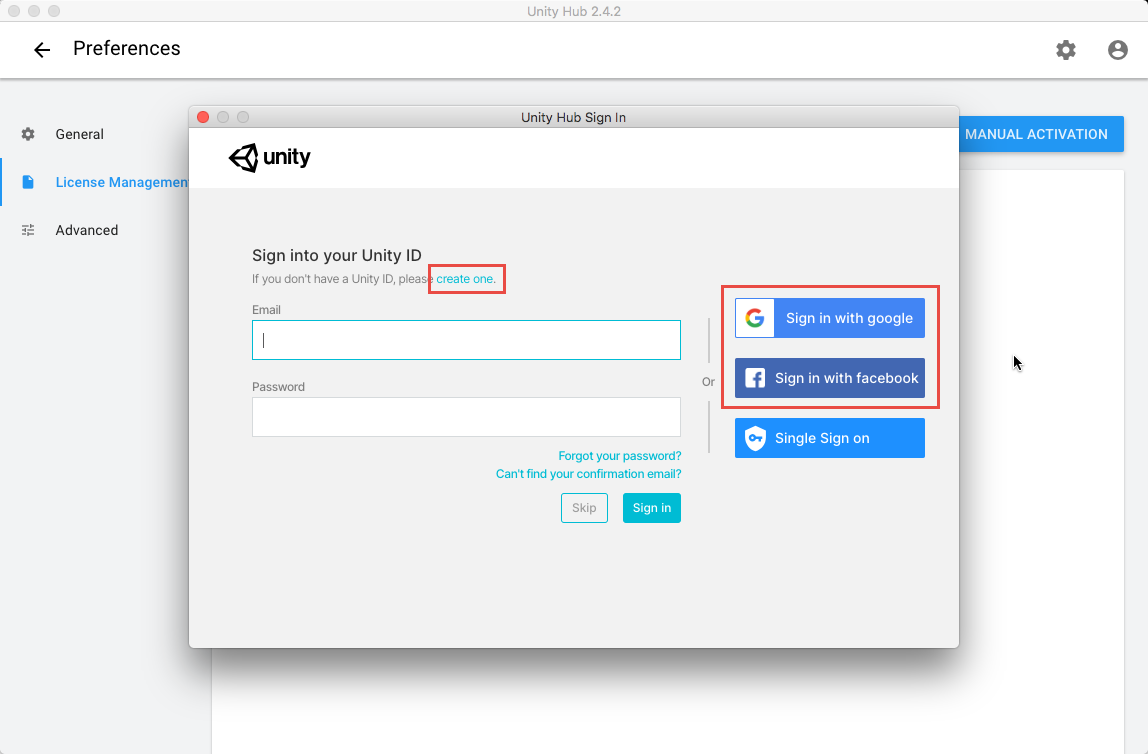
Then, click
LOGIN.
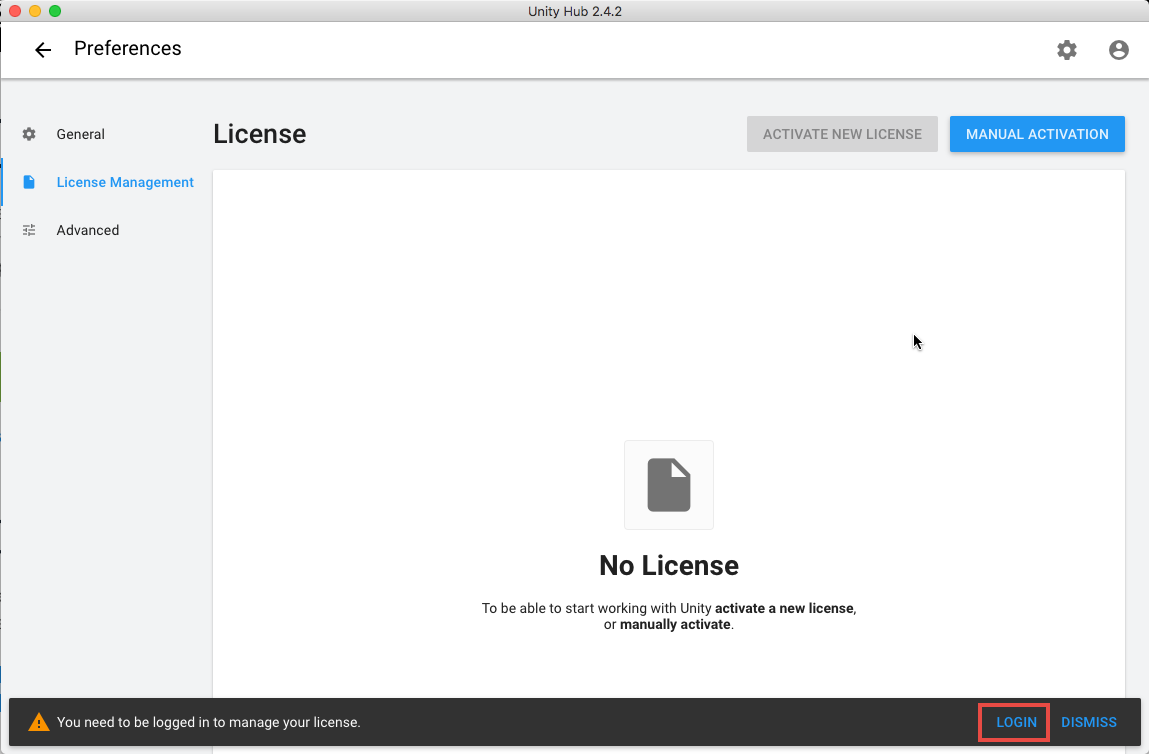
You will need to sign in with an account to use Unity. You can sign in with a Google account, a Facebook account, or create a Unity ID. If you already have a Unity ID account, you can sign in with that account.
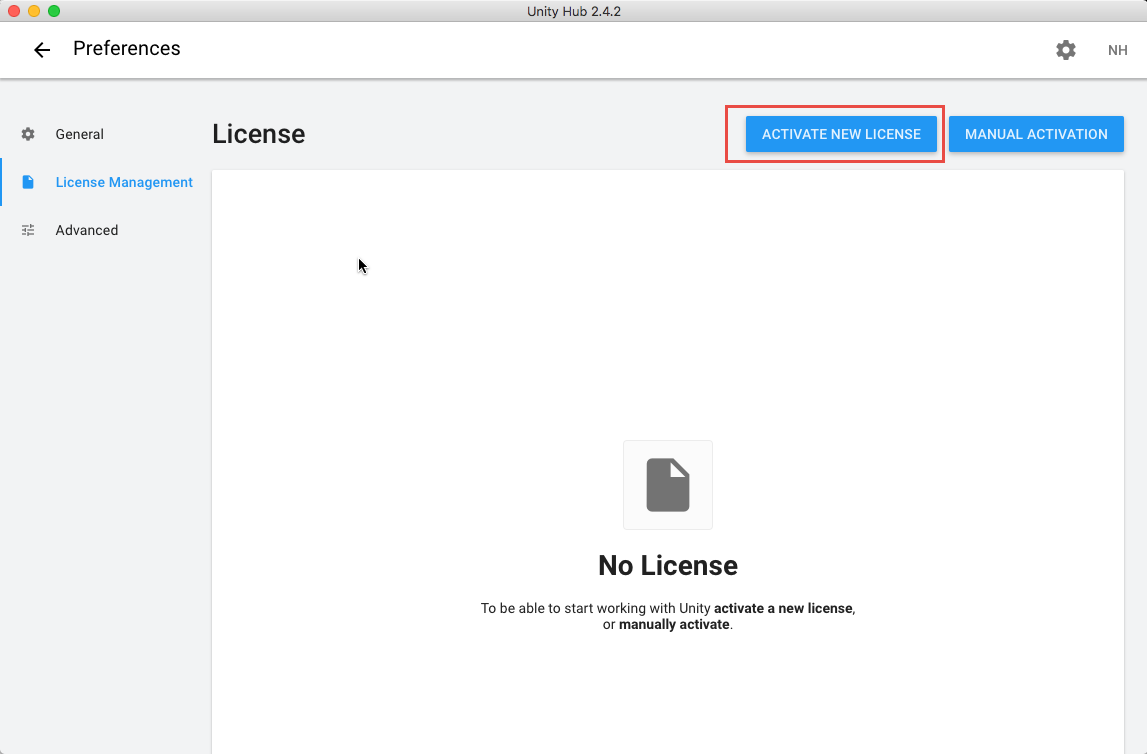
After you have signed in, the
ACTIVATE NEW LICENSEbutton will be enabled. Click that button.
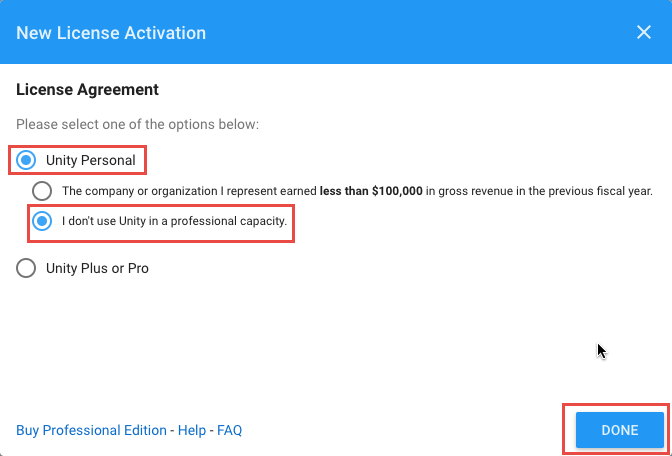
On the New License Activation screen, select
Unity Personaland
I don't use Unity in a professional capacity. After you have checked those options, click the
DONEbutton.
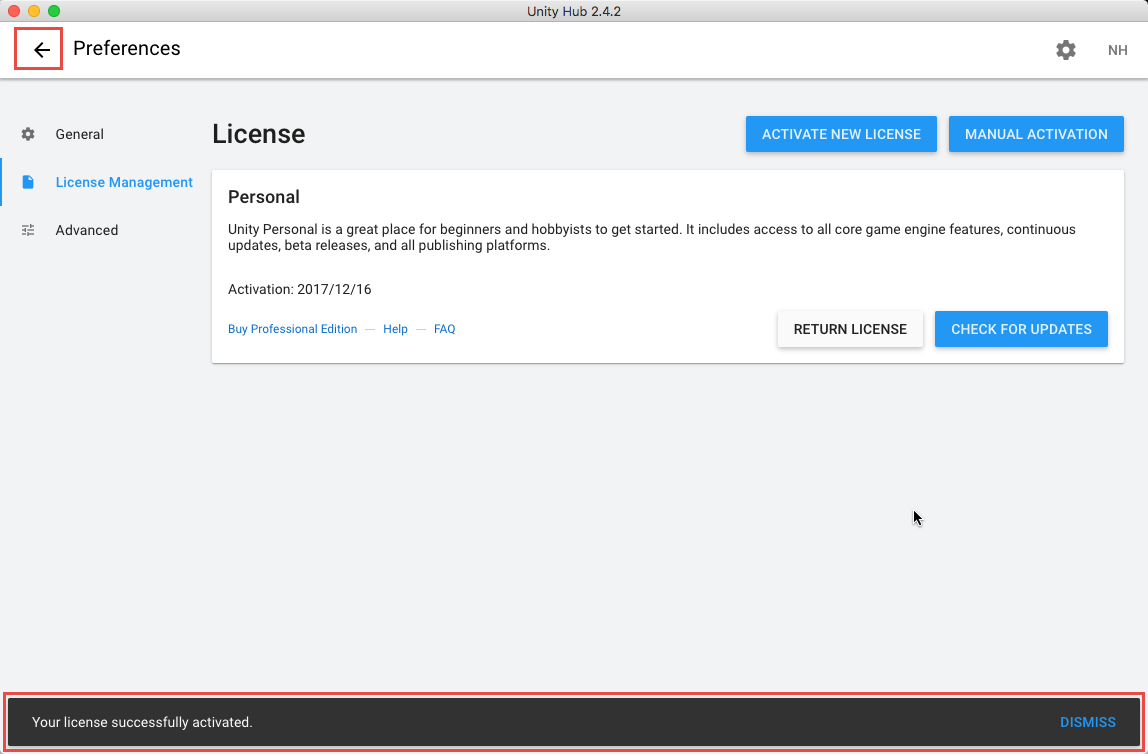
You will see a message indicating that your license has been activated. You can now click the Back arrow to exit preferences and continue with installing the Unity Editor.
Installing Unity Editor
Now that you have Unity Hub installed, you can use it to install the Unity Editor.
The Unity Editor is the application used to actually create games.
First click on the Installs tab, where you will see all your installed Unity versions.
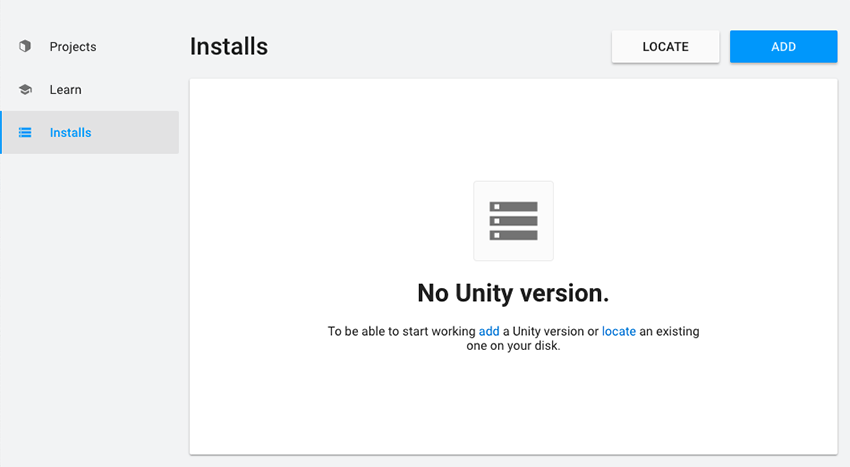
To install the Unity Editor, click Add then select a version of Unity.
The Unity Editor application is updated all the time. What you will see in the version selection screen may be different from the screenshot below. If you intend to develop multiple games in Unity, you may find yourself installing 2 or 3 different versions of the Unity Editor on the same computer, which Unity Hub allows.
Here are some guidelines for selecting a Unity version for this course. Try to follow the first guideline to pick your Unity version. If that guideline does not work for you, proceed to the next guideline to determine the Unity version to select.
1. Check to see if a specific Unity version recommendation was provided to you in an introductory email for this course. If you follow that version recommendation, you should have all the functionality you need to work on the projects in this course, even if those projects were developed in a different Unity version.
2. If you were not recommended a specific Unity version to install, or if that recommendation does not show up in the list of available versions, pick the most recent version in the list that has the label of
3. If you want to use more recent Unity functionality not available in the LTS releases, pick the most recent version in the list without the
4. If you want to use the exact same Unity versions that were used for this course, visit the Unity Archive Site and select the Unity version from that list of versions. Note: not all of the projects in this course were made with the same Unity Version, and there is no expectation that you have the exact same version as the projects in this course. So long as you have a version that is newer than the projects in the course, you will be able to complete the projects for the course.
Here are some guidelines for selecting a Unity version for this course. Try to follow the first guideline to pick your Unity version. If that guideline does not work for you, proceed to the next guideline to determine the Unity version to select.
1. Check to see if a specific Unity version recommendation was provided to you in an introductory email for this course. If you follow that version recommendation, you should have all the functionality you need to work on the projects in this course, even if those projects were developed in a different Unity version.
2. If you were not recommended a specific Unity version to install, or if that recommendation does not show up in the list of available versions, pick the most recent version in the list that has the label of
(LTS)at the end. the LTS stands for
Long Term Serviceand indicates a stable release without many bugs. These versions should be sufficient to complete the projects in this course.
3. If you want to use more recent Unity functionality not available in the LTS releases, pick the most recent version in the list without the
()LTSlabel. These versions may not be as stable, and could potentially run into issues when opening projects for the course. For more information on functionality inside more recent releases, you can see the Unity Roadmap.
4. If you want to use the exact same Unity versions that were used for this course, visit the Unity Archive Site and select the Unity version from that list of versions. Note: not all of the projects in this course were made with the same Unity Version, and there is no expectation that you have the exact same version as the projects in this course. So long as you have a version that is newer than the projects in the course, you will be able to complete the projects for the course.
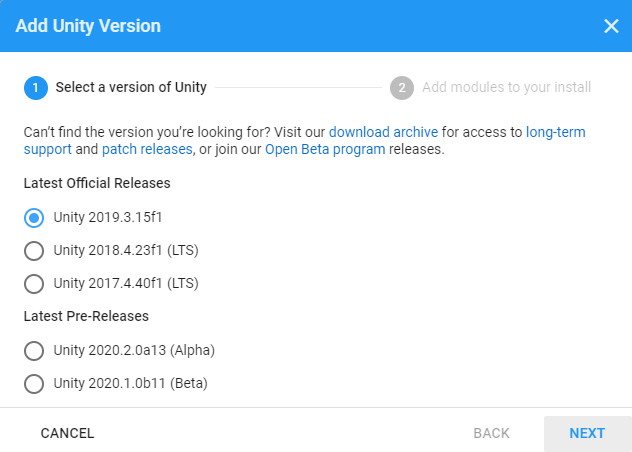
Click Next and you will see a screen where you can select the modules you want to install with the Editor.
Make sure the following modules are selected:
Microsoft Visual Studio Community 2019
Mac Build Support (Mono)
WebGL Build Support
Windows Build Support
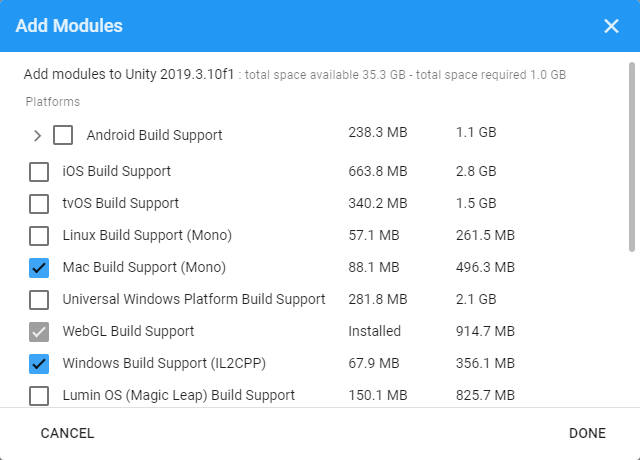
Click Done and the Unity Editor will be installed.
After a version of the Editor has been installed, you can add modules to it, locate its files, or uninstall it by clicking the three dots next to that Editor version.
You are now ready to start making games in Unity!