Creating a World
In this tutorial, we're going to make our own 3D world to play in
First-Person Controller
Open Unity and create a new project.
To create our first-person controller we need to get the files with the code for the controller. Here are the files with the code: FirstPersonController and PlayerLook
To add scripts, drag them from the file explorer and drop them into the desired folder within Unity.
Now we need to make a temporary platform to test our character on. We can put a plane and expand it to make the test area. We can also add some ramps to climb up.
Since we now have an area to walk on lets create the First-Person Character.
First we have to add an Empty Game Object to the scene, name it
Player. Then we use Add Component to add a Character Controller to the Player object. Now we need a body for the player, so create a Cylinder 3D Object and put it under the Player in the Hierarchy.
After that we need to add the Main Camera to the Player Game Object so we can use it as our eyes. After we add the camera we can now add our PlayerLook code, to the camera. When adding the script we need to tell it to look around with the player so we need to put the Player's transform in the script.
Now that we can look around it's time add player movement. In the Player game object, add the FirstPersonController component. Then drag and drop the Character Controller component into the Controller section of the script. We need to add something that detects if we touch the ground, so create an Empty Game Object and name it
Ground Check, then move it to the bottom of the Cylinder where the feet would be.
Since we have our Ground Check Game Object, let's drag it into the FirstPersonController script under where it says Ground Check. Currently the player does not know what is the ground, so we need to make a new layer named
Groundand make the platform have the layer Ground. After we do that, in the script under Ground Mask change it to look for the layer Ground.
When you play inside of Unity with this controller, it will take control of your mouse. Press Esc to get your mouse back and be able to click outside the game again.
Now you are able to run around and jump! Feel free to adjust the Speed, Jump Height, and Gravity (remember gravity is negative, the lower it is the faster it pushes you down).
Building Terrain
We need a map for our player to explore! Let's create a basic terrain here.
In the Hierarchy, right-click and select 3D Object > Terrain. Then wait for the terrain to load in.
In the inspector, under the Terrain component, click on the Paint Terrain button.
This will show a variety of brushes that you can use to raise or lower the terrain. Each brush has a different effect on the terrain. You can also increase and decrease the size of the brush by change the Brush Size slider.
Left-Click and drag around the terrain to raise it, or hold Shift and Left-Click to lower it. Try different brushes and see what each one does!
If Unity gets laggy when painting the terrain, un-check the Static box in the upper right hand corner of the Inspector
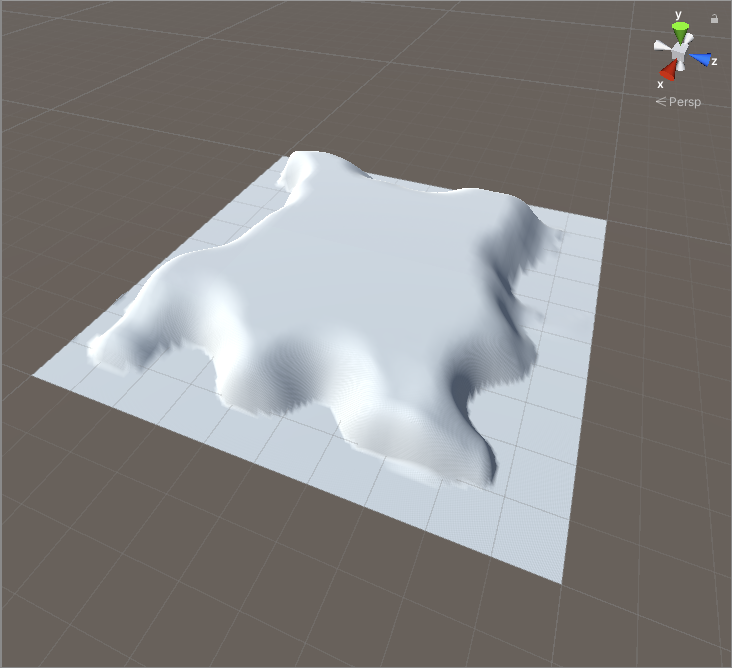
First, we need to flatten the terrain. This way we can easily make lakes, rivers, beaches, etc.
Now that we can lower the terrain, let's create an island where all of our mountains, lakes, and other features will be. Create your own unique design, think about how you want your island to look!
Let's add some hills to our island so we can create a more natural feel to the map. By Shift + Left-Clicking and dragging randomly around the island we can create some hills.
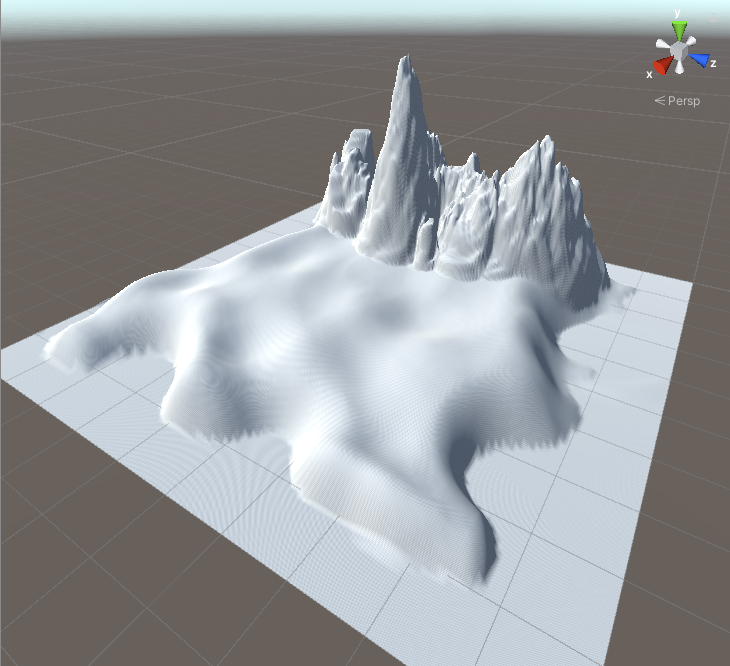
Now time to add in mountains in the back of the island, this will help with the look of the island, and can even act as a barrier so players cannot reach or see the outside of the map.
You can play around with each paint brush to get any type of hill or mountain shape you want. If you don't like one of your changes just press Ctrl + Z and it will undo the last change you made.
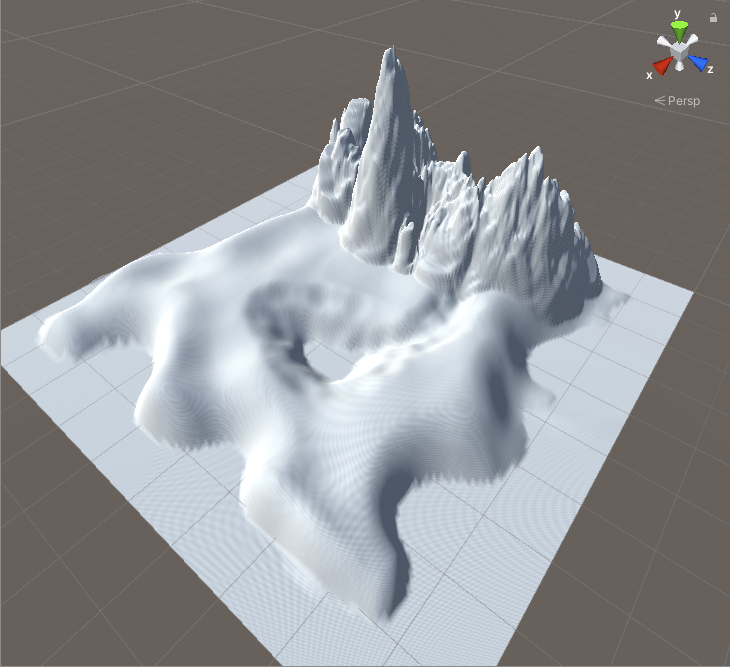
Now that we have our hills and mountains, let's add the final details to our island.
We can start with a lake or pond on our island.
Make sure you leave enough room for the player to play in, if the whole island is full of lakes and ponds there will be nowhere to play the rest of the game!
Now its time to add any extra details you want, such as rivers, bigger hills, or anything else.
Now that your terrain is finished, change its layer to be Ground then move your player onto the island. Now run around your island and explore!
Painting Terrain
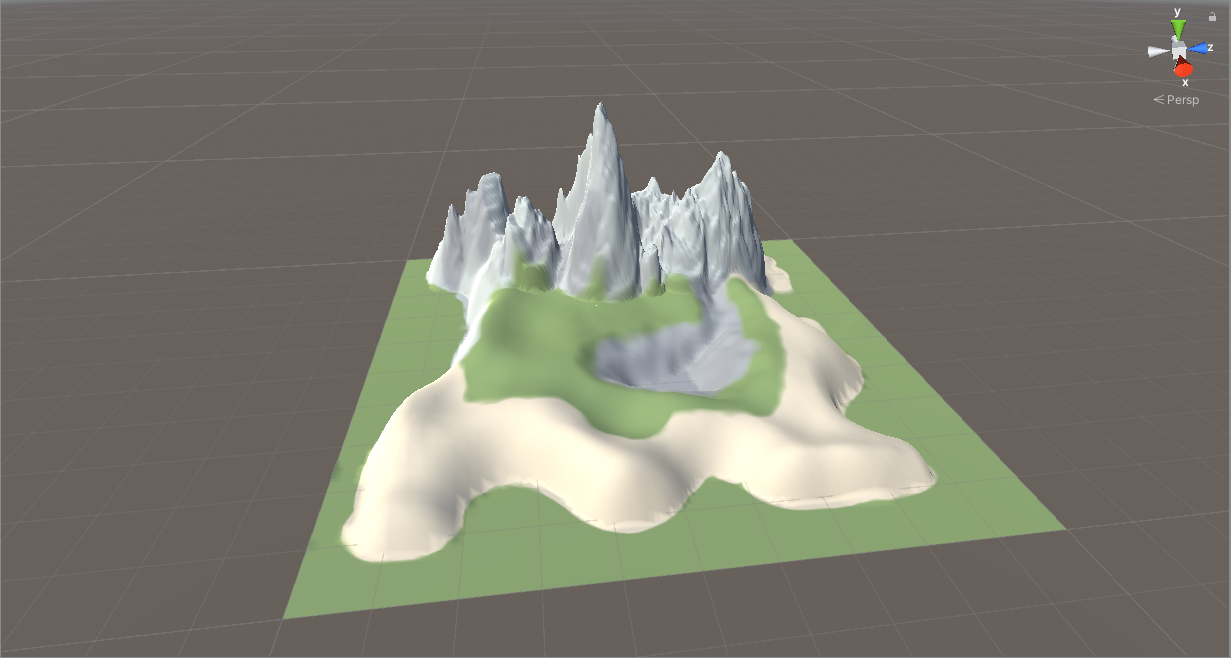
Since we have our completed island it's time to add some color to it, by painting different textures onto its terrain.
Create a folder named
Texture. After that you can find any texture you want for your island by looking it up on the internet! For example, if you want the island to be full of grass, you would search
Seamless Grass Texturethen some results will pop up! Right-Click on a texture you like and press Save Image As this should save the picture to your Pictures Folder. Try picking out 3 or 4 textures for the island.
Now we are going to add the textures we found to our island. Click on Terrain in the Hierarchy and go to its Paint Terrain Tool. Select the Paint Texture option from the drop down menu. Then Click Edit Terrain Layers > Create Layer then select the texture you want your island to have.
By creating more Terrain Layers we can add the other textures. We can click on a texture we want to paint then, similar to molding the terrain, we use one of the many brushes and Left-Click to paint directly onto the terrain.
Paint your island any way you want with the various textures you selected. Then after you are done painting, try walking around the island again and see how you like it!