Adding Objects
In this tutorial, students will learn how to add objects to the world they created
Using the Asset Store
First we need some free assets, like trees, to fill up our empty island.
If you don't have the Asset Store tab, go to Windows > Asset Store then you should have the tab to open it.
You can get any asset from the Asset Store. It has a wide array of options to choose from.
Trees & Water
Time to make the island a little more alive by adding some trees and water.
First we need to get the water assets from unity in the asset store. Look up
Standard Assetsin the store and find the one that looks like this.

Once you download it, start the importing process. Once you get the pop-up of everything to import, uncheck the top boxes, then go through and checkmark the boxes in this picture. Import after you are done.

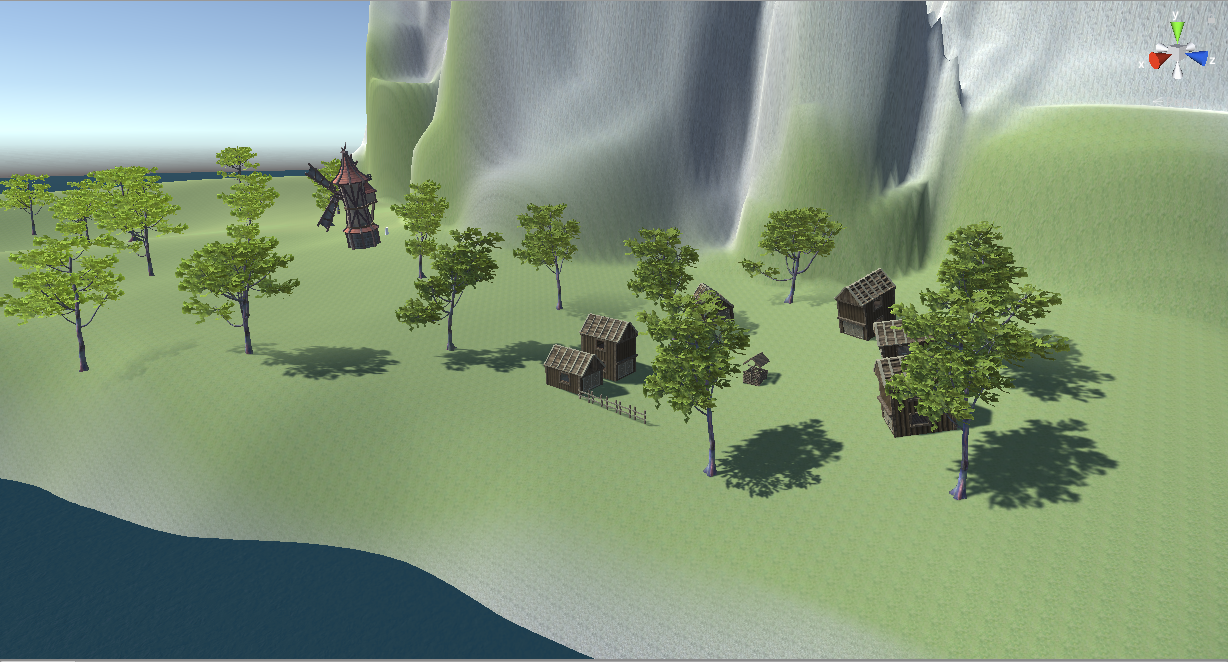
Now that you have the assets needed we can now add water to the island. All we need to do is drag the new basic water prefab into the scene and adjust its size and position it to fit the island.
Now that we have water lets add some trees to fill up the empty island.
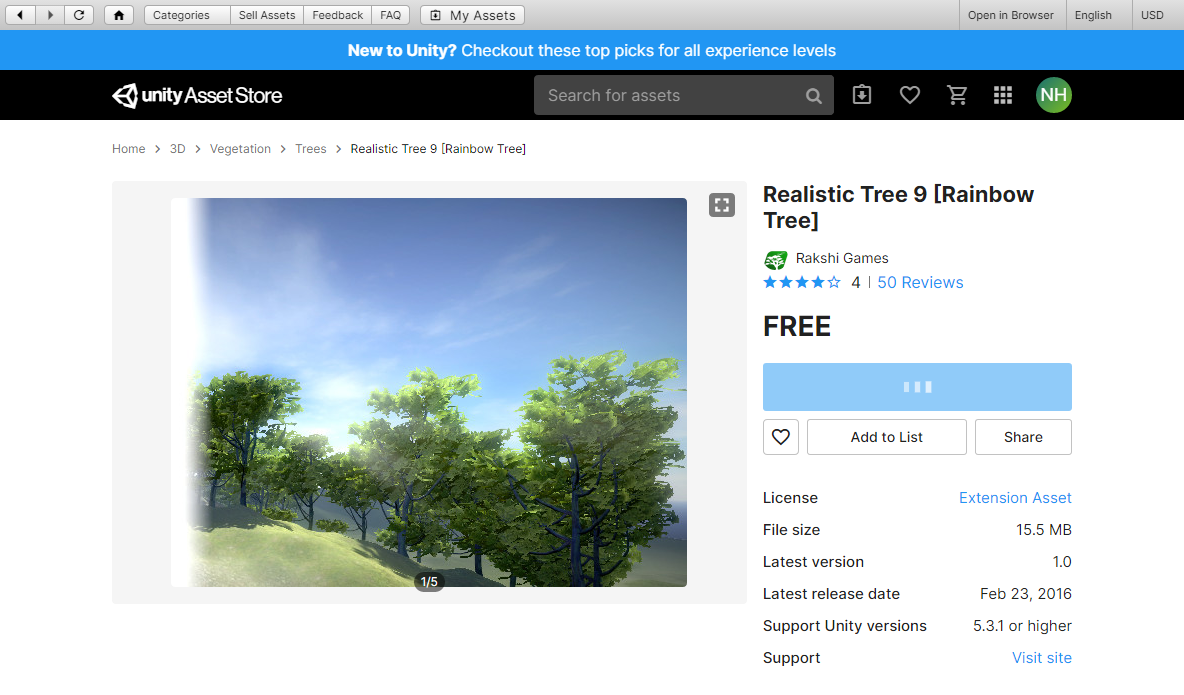
In the asset store, search for
Realistic Tree 9to find a free asset pack with trees. Import and download everything in the asset pack.
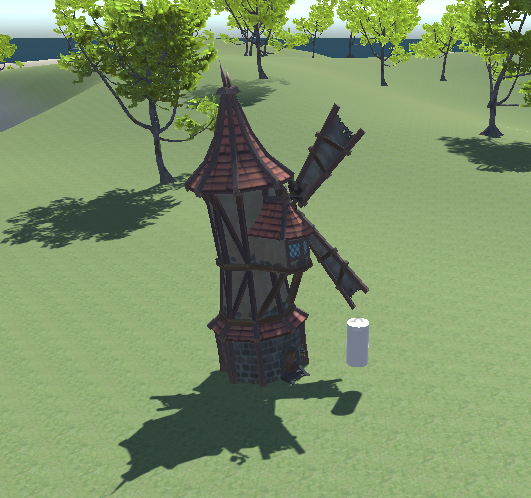
Go to the folder of the free tree asset, and find where the tree prefabs are, then drag them into the scene.
After adding a lot of objects you can see it starts to get a bit messy and confusing in the Hierarchy. By adding the Empty Game Object we were able to sort all the tree objects into one object on the list.
3D Assets with Colliders
Time to add the final touches to the island by adding more assets to the world, such as buildings, ruins, etc...
Go to the Assets Store and find a free building you want to put on the island, or any other object you want. Once you find something you like import it from the Asset Store. Find its prefab in the new folder it made, then drag the prefab into the scene.
You will notice if you play in the world, that the new building's size is not correct compared to your player's size. Adjust the size of the building to match the scale of the player.
You now have a building in your world, however there is no collider so the player can walk through it. We can fix this by adding a collider to the building.
Since you now know how to put different kinds of objects in to the world, try adding some things to your island! Once you are done run around in your world and explore!
If you feel like you've finished your first world, you can create a new scene and make a second one. We'll learn how to move between scenes in a later lesson.
Additional Challenges
Creating a Hide-And-Seek Scene
In a previous lesson, you used the basics of Unity to find and retrieve all sorts of objects around a house and arrange them on a shelf in the Animal House project.
In order to find the animals in the scene, you were given hints about their locations. You could follow the hints because the world included details that pointed you to the right location.
Go to the asset store and find different models to hide in different places in your scene. After hiding them, write short hints about where to find them. Try to tie the models that you chose to specific aspects of your world. Would that be a logical place for that model to exist in your world?
If your world has enough interesting features, it should be easy to find places to put them that would be challenging, but not impossible, for the player to find. If you find yourself struggling to put them in a logical place, you might need to think about your world a little more and add more detail to it to describe its backstory.
Camera Angles
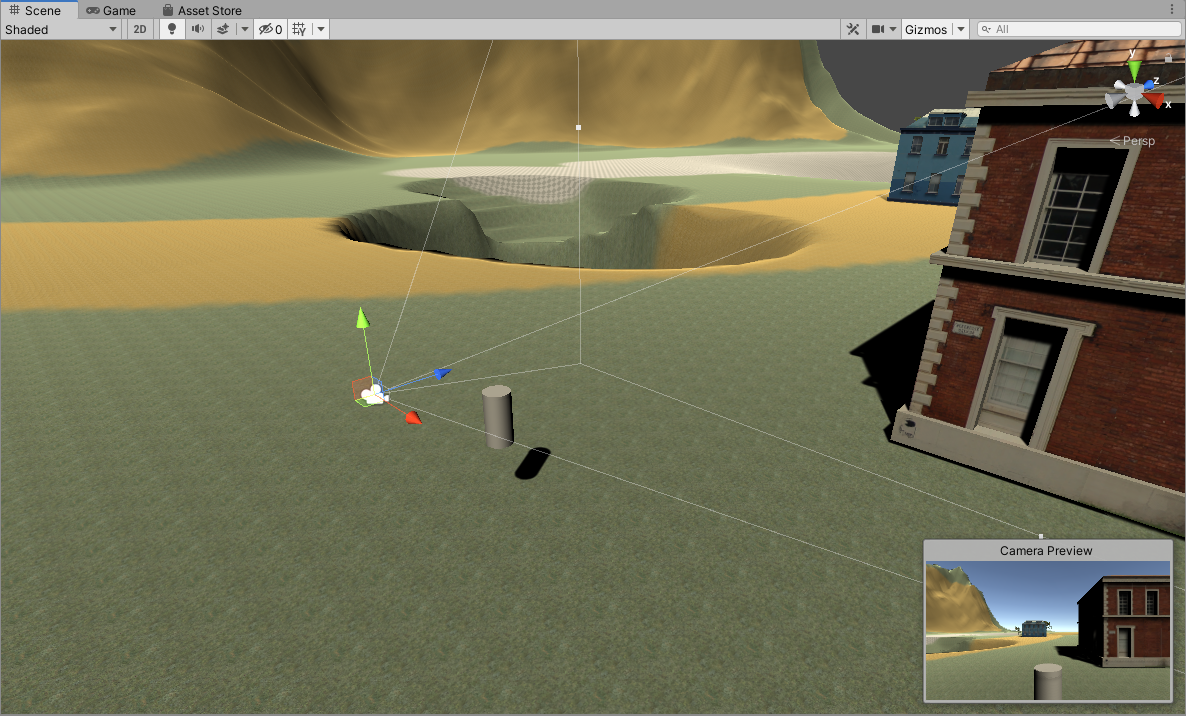
You don't need to make your game take place exactly from the first-person perspective. You can take the Main Camera object and move it to a different position to give the player a different way of looking at the world.
Because the Main Camera is underneath the Player object that you created in the hierarchy, it means the camera will follow the character as it moves around. In this scene, the camera has been put behind the cylinder.
Using a camera from a different perspective gives the player a different feeling about the game. If you have a camera from the first-person perspective, the player will believe
I am the character. If you have a camera that is behind the character but follows very closely, they will believe
I am PLAYING as the character. If you have a camera that is very far away, so the character is very small, the player might believe
I am playing in a world which has this character. These three perspectives can give your game very different levels of emotional depth.
Examples
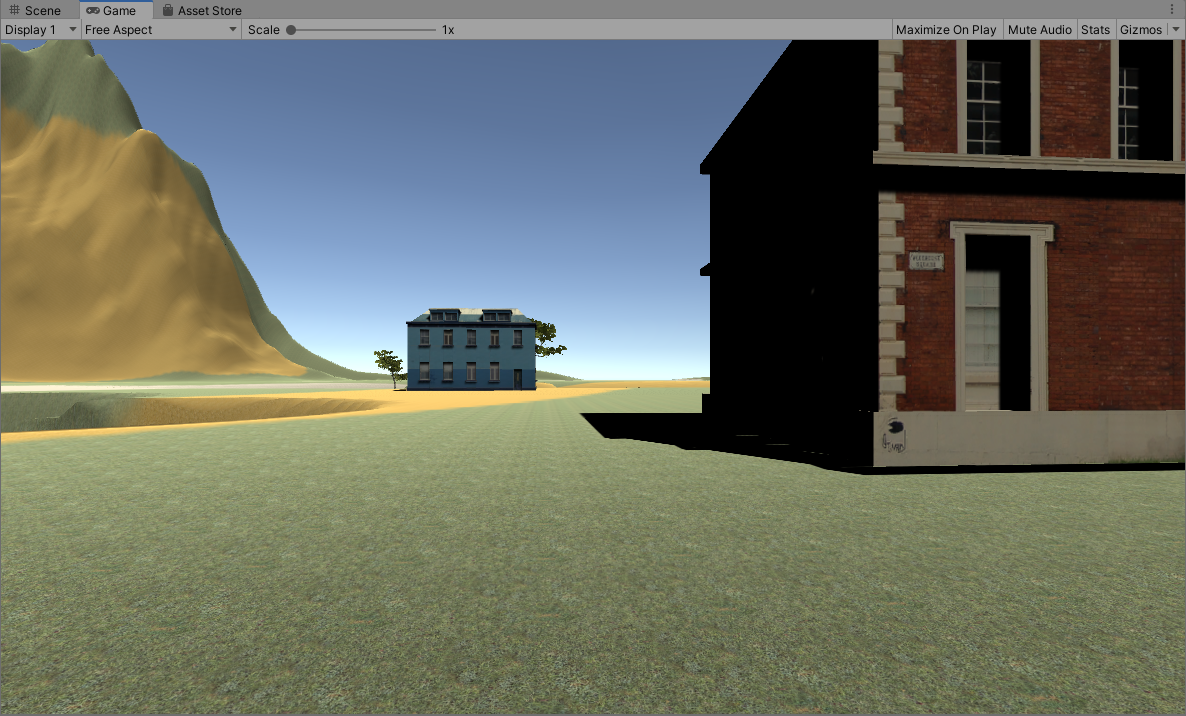
In First-Person perspective, you place the camera about where the player's eyes are. They can't see their character, so you don't need to create a character model for them.
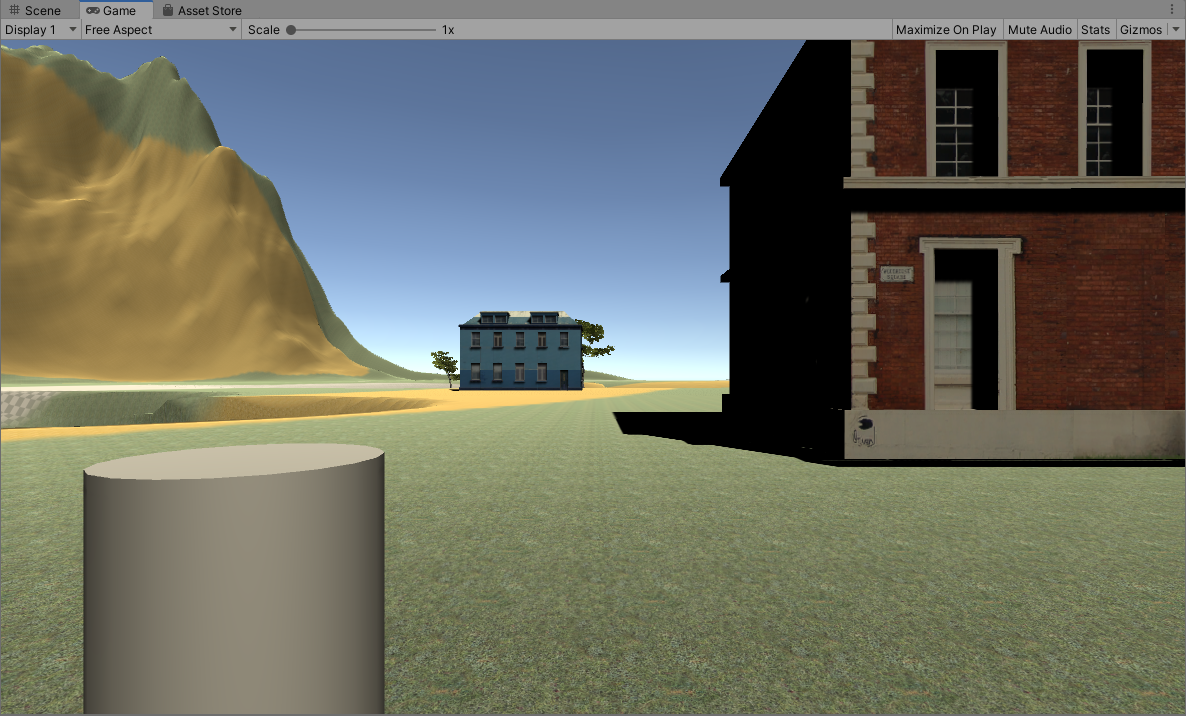
In the Third-Person Centered perspective, you place the camera behind and a little above the character. This lets you see around the character a little bit, so the player can be aware of obstacles to their left and right.
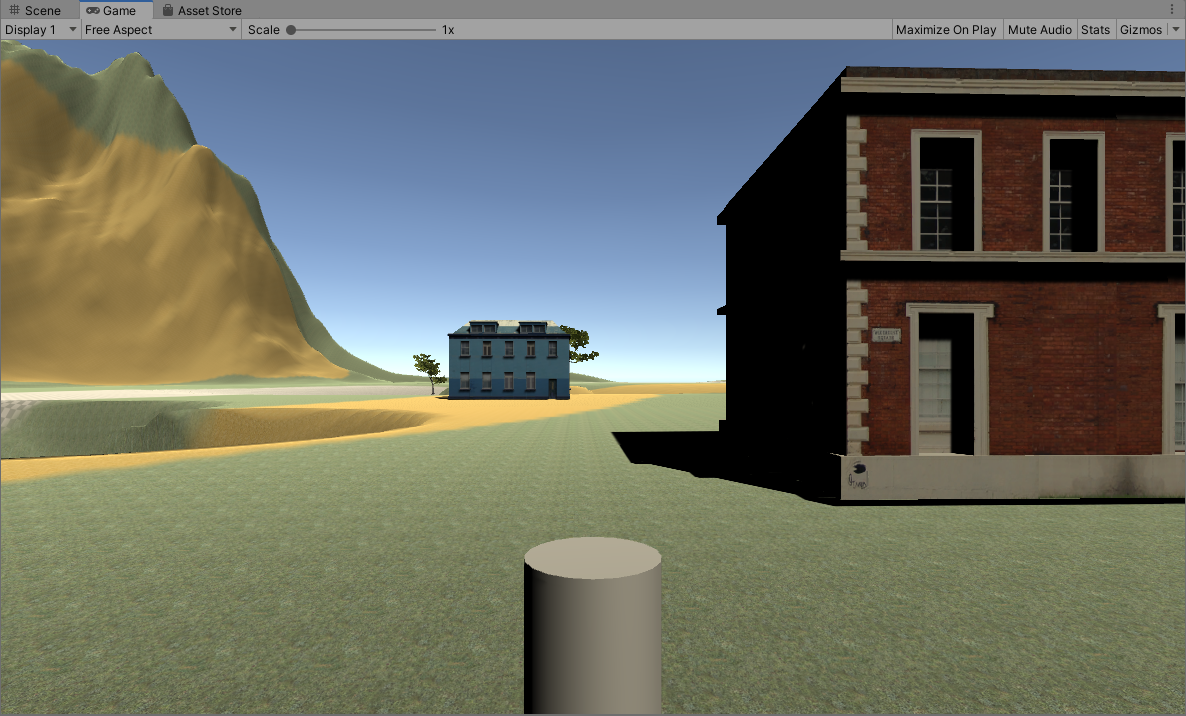
In the Third-Person Shoulder perspective, you place the camera at the character's eye level, but a little behind and off-center. This perspective is useful when creating a shooting game where the player needs to know where the character's gun is pointing.
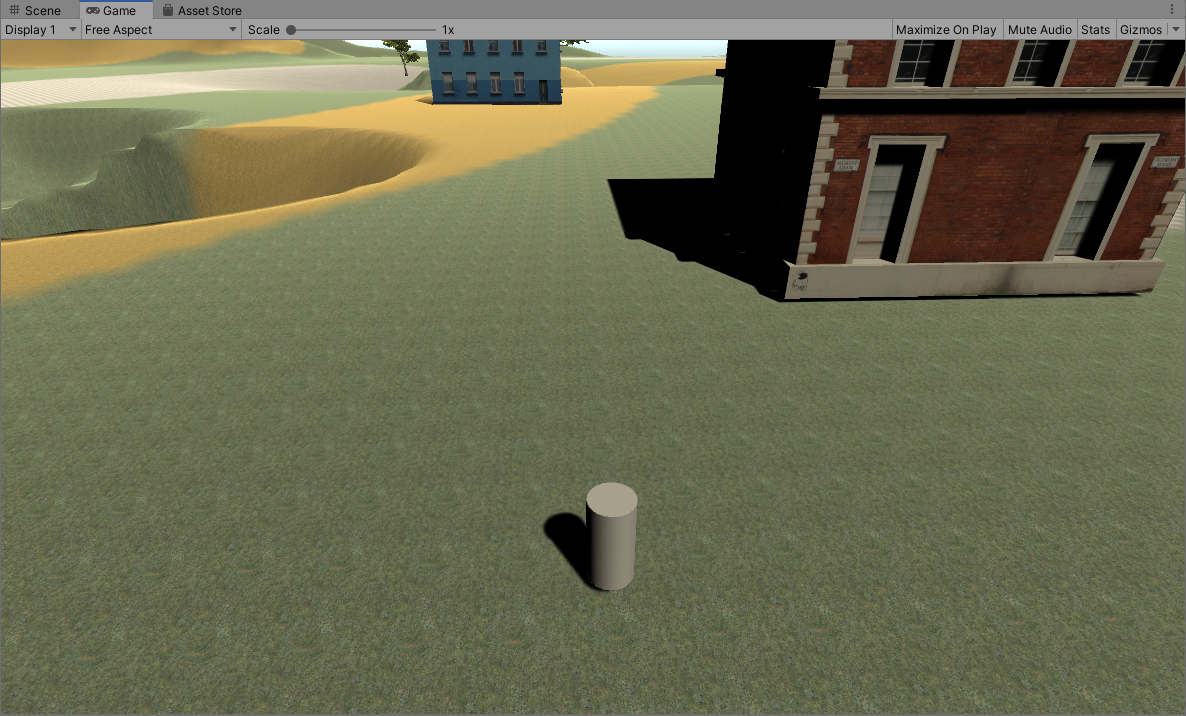
In the Third-Person Distant perspective, you place the camera above the character at an angle. This is often combined with indirect controls, such as clicking on the map and watching the character move there, such as Real-Time Strategy games (RTS) or Multiplayer Online Battle Arena games (MOBA).
Try to experiment with different camera perspectives and determine which one would work best for your game world.
A Real Character
After you move the camera to a different location that allows the player to see their character, you can replace the cylinder with an object from the asset store, so they know who they are playing as.
Giving the player character a model tells the player how their character relates to the world. The player will think of a town full of houses very differently if they are playing as a little girl or as a dragon!
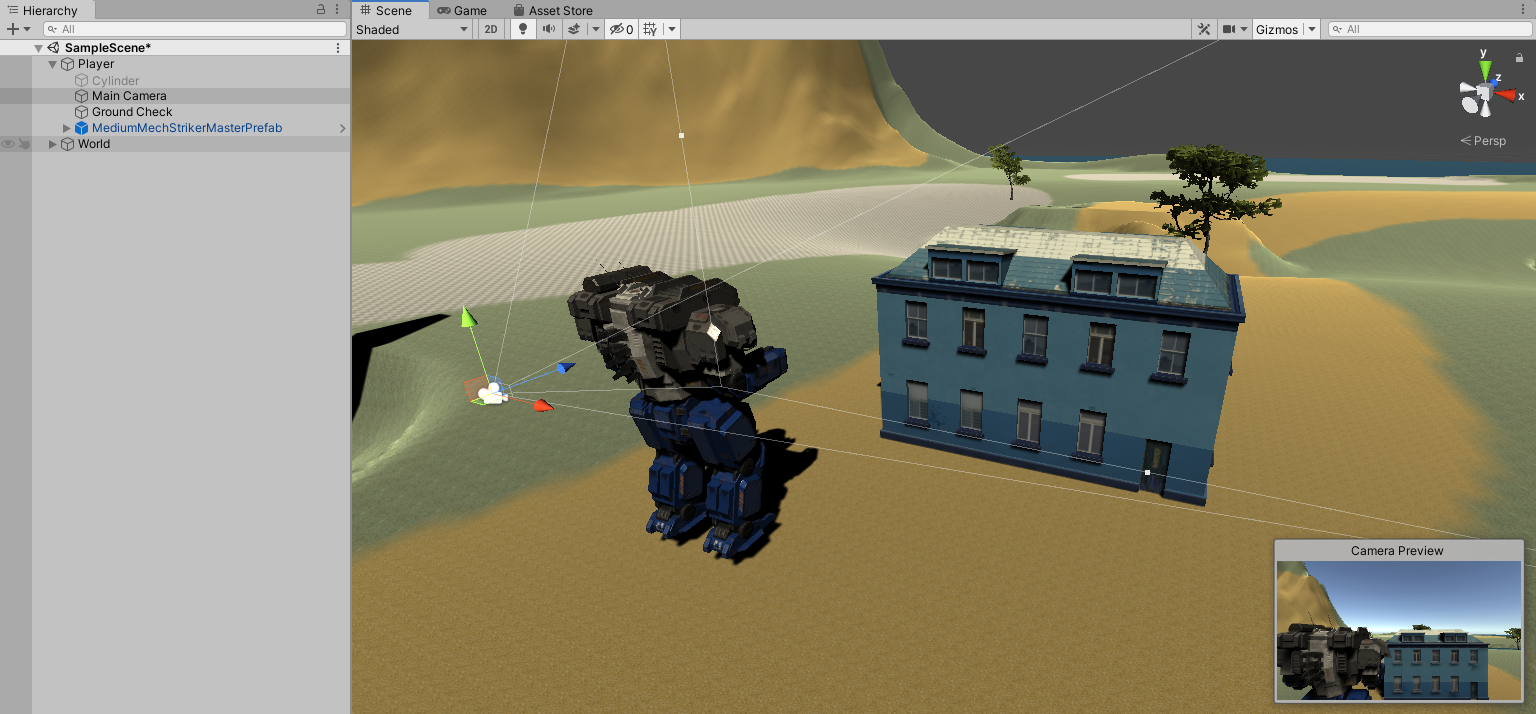
In the game shown in the image below, the character plays as a giant robot, and because it is a shooting game, it is using the Third-Person Shoulder perspective. See that the Prefab for the character is underneath the Player Object, and the cylinder has been disabled. After you add your character, don't forget to resize your collider.
Wrap-up Activity
3D World Walkthrough
When you have finished building your world, record a video screen capture of you playing the game that demonstrates inclusion of all required elements. View the rubric for this project below for a complete list of required elements.The recording created should be long enough to demonstrate your inclusion of required elements without exceeding one minute. If elements are placed far apart in an expansive world, you may edit the video to remove portions that are not necessary.
How did you do? Take a moment to reflect by completing the Evaluation Rubric for the 3D World Walkthrough.
You may Create a Copy of the Evaluation Rubric for your own use.