Unity Frequently Asked Questions
This is a list of frequently asked questions for the Unity courses. Click on the question to see the answer details
Frequently Asked Unity Questions
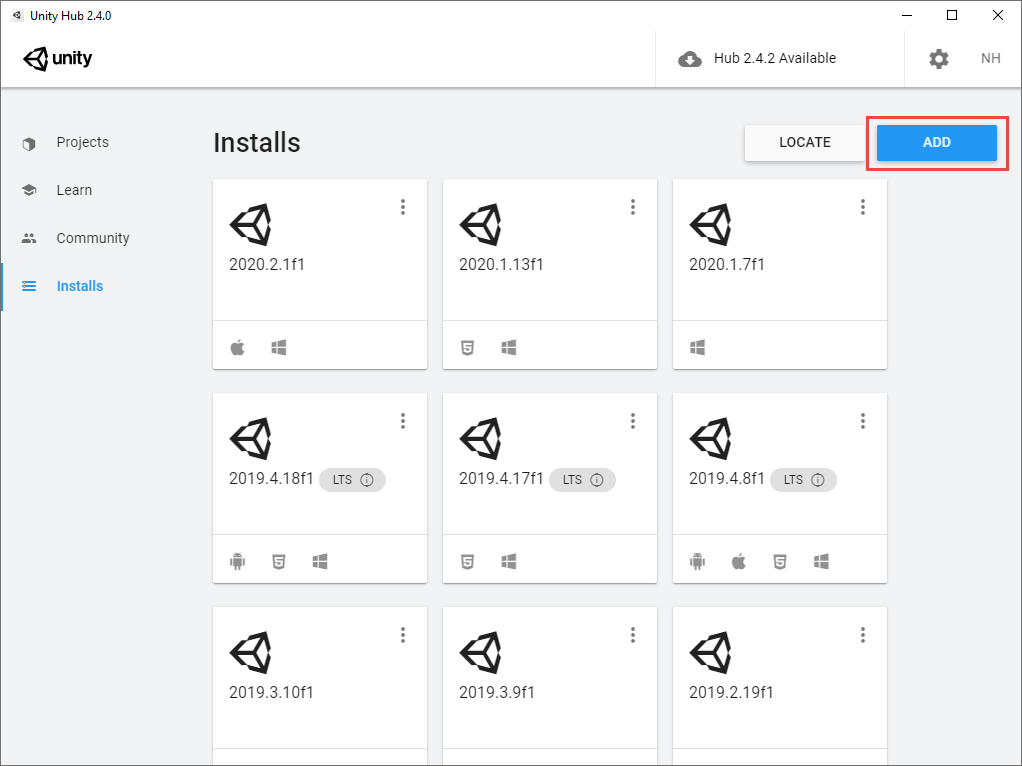
When you open the Installs section of Unity Hub and click the Add button, you will be able to see recently released versions of Unity.
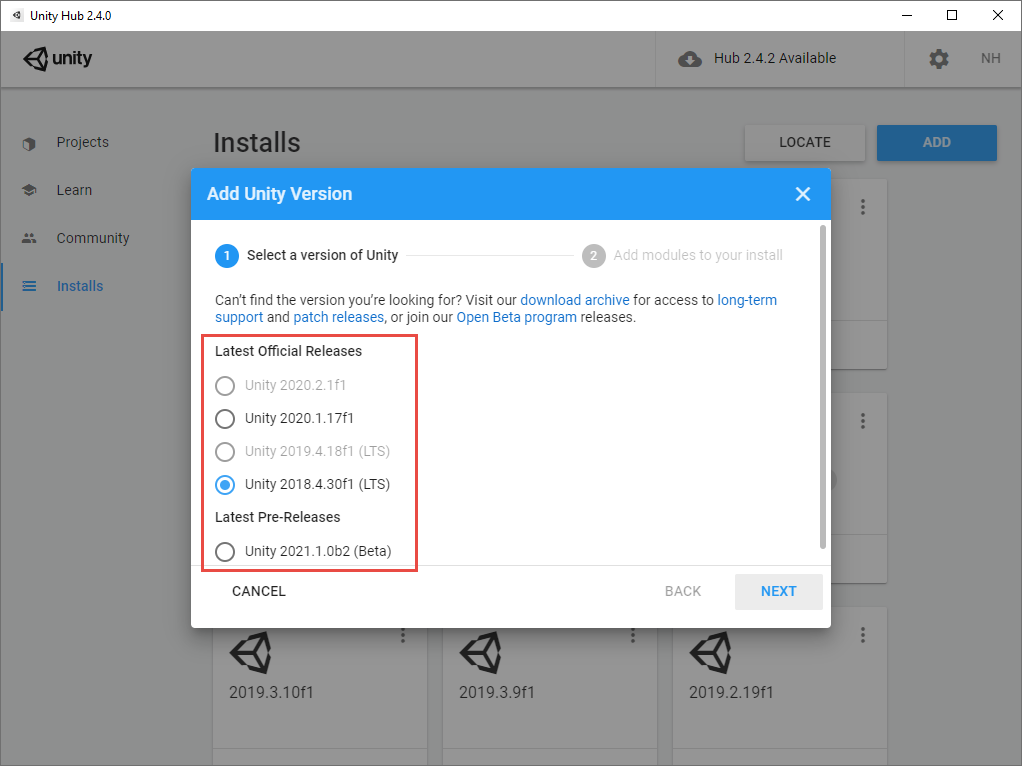
If you want to install a specific version of Unity, you can visit the Unity download archive.
In the Unity download archive, you will be able to select a specific version of Unity to install. Only use the download archive if you have a specific need for an older version of unity, such as a project with code that will only work in an older version of Unity.
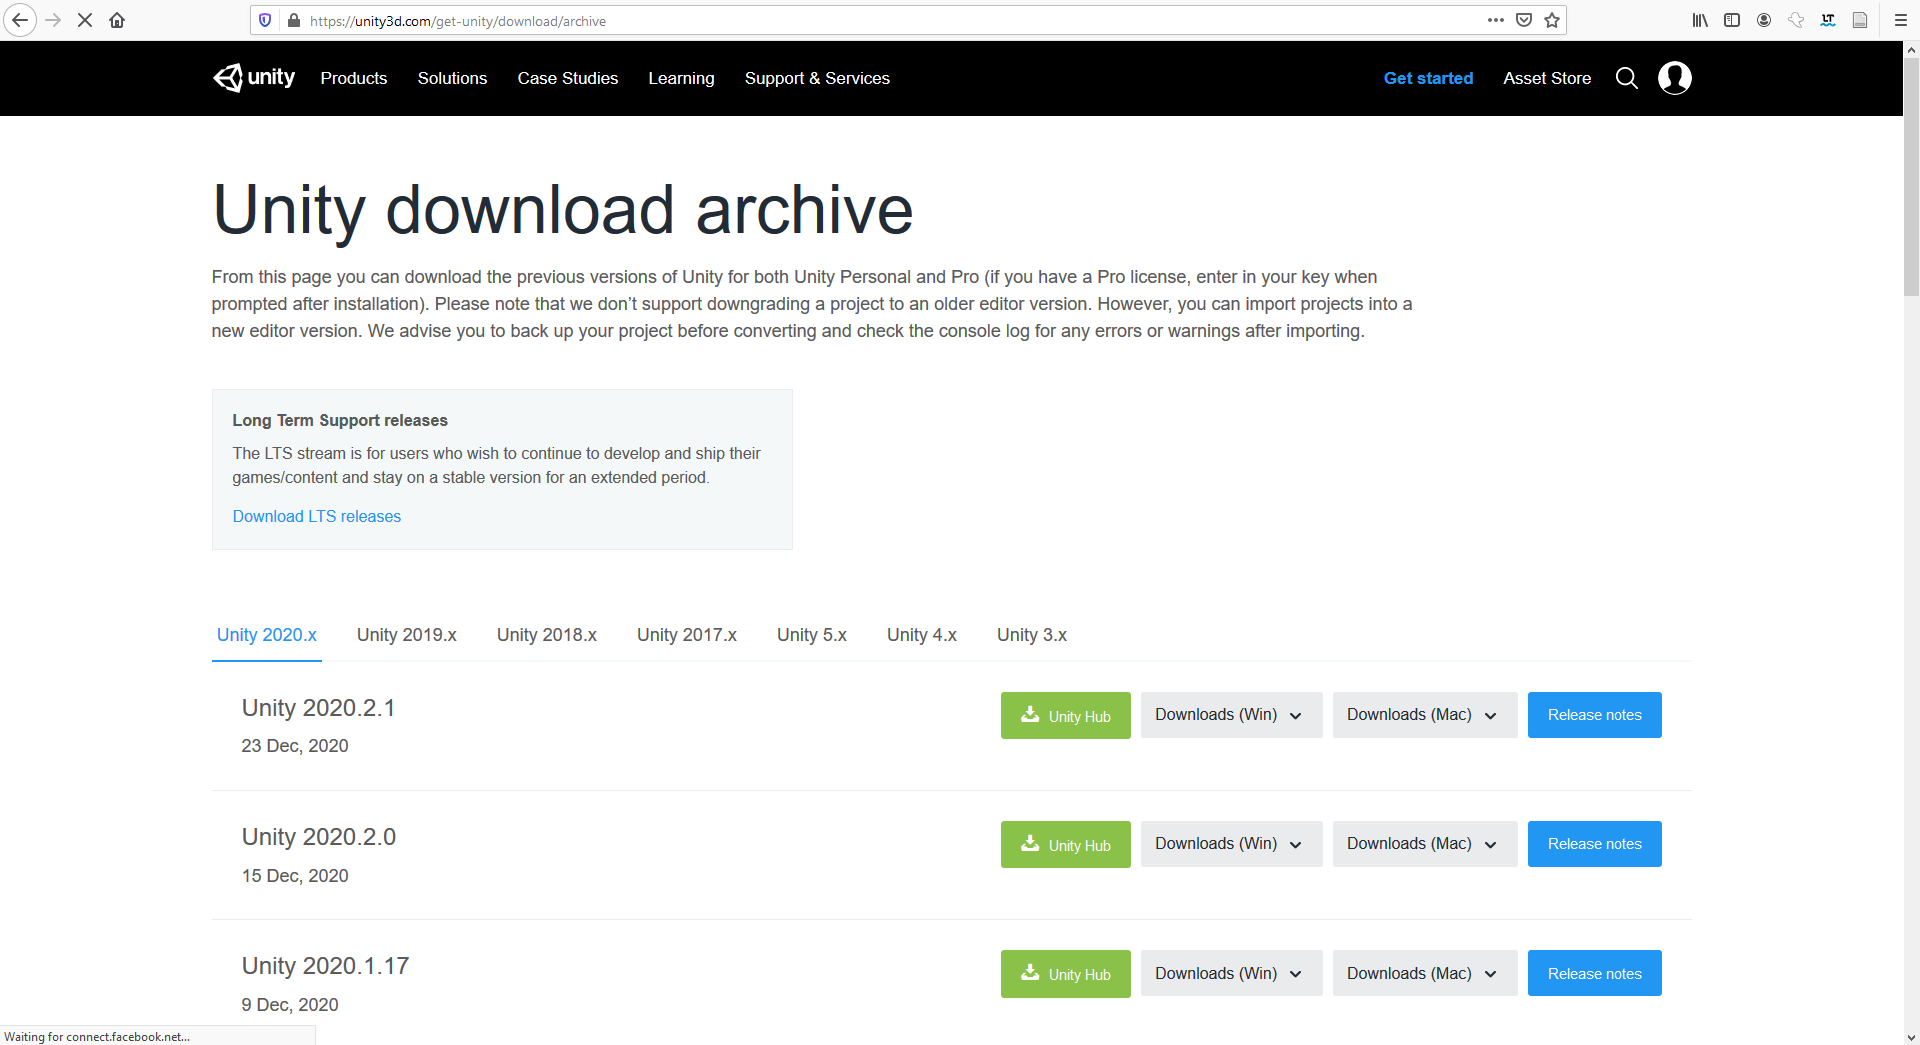
For information about activating your Unity license, see the Unity License section of the Unity Environment Setup page.
Exporting a Package
To export a package, right-click the Assets folder in the Project view and click Export Package....
A window will display to show you the files that will be exported. Ensure the correct files are selected, and then click click Export...
Navigate to the folder where you want to save the file. Enter a file name and click the Save button.
The folder with the saved Unity package will be displayed.
The video below shows the steps to export a unity package.
Importing a Package
To import a package, right-click the Assets folder in the Project view, hover over Import Package, and click Custom Package...
Navigate to the folder with the package, select the package, and click Open.
The package import window will display. Ensure the files you want to import from the package are selected and then click Import.
The selected files from the package will be imported into the project.
The video below shows the package import process.
If you have an object selected, you can use the W key to switch to move mode, the E key to switch to rotate mode, and the R to switch to scale mode. You can select objects in either the scene pane or in the hierarchy pane.
For more information about selecting, moving, rotating, and scaling objects around in a Unity scene, review the Unity Basics lesson.
For more information about selecting, moving, rotating, and scaling objects around in a Unity scene, review the Unity Basics lesson.
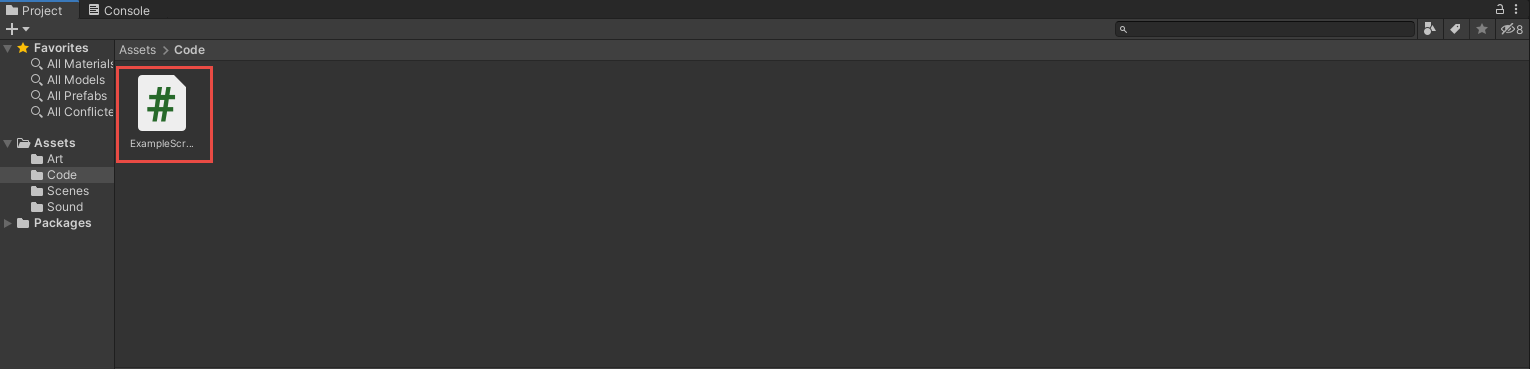
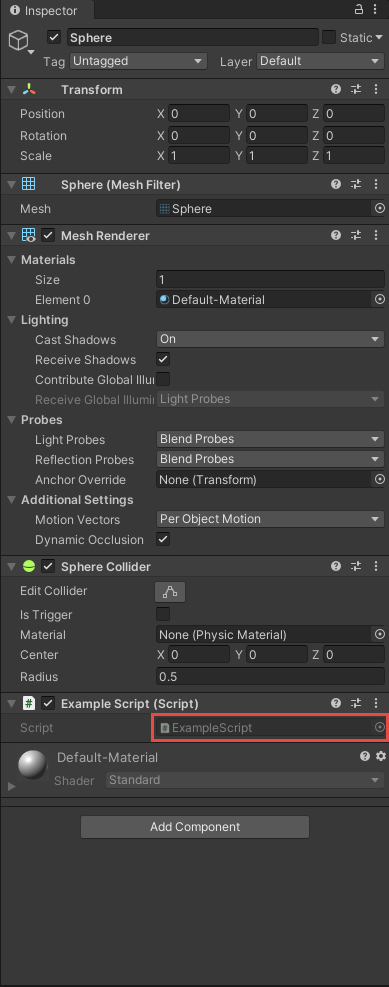
To open a script, double-click the script asset in the project pane or in the object's script component.
If you have a Unity project added to Unity Hub, you may not have the same Unity version as that project.
You can click the drop-down next to the project version to convert the project to a different Unity version that you have installed on your computer.

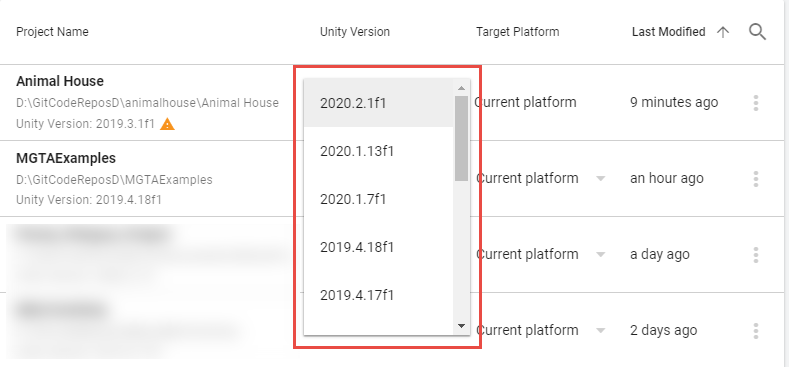
As a general rule, if the Unity version you have is more recent than the Unity version of the project, you will not have issues opening the project, although it will need to go through a conversion process.
If you are working on a team, it is highly recommended that everyone on your team works in the same Unity version. You can install more than one Unity version on your computer using Unity Hub.
You can click the drop-down next to the project version to convert the project to a different Unity version that you have installed on your computer.
As a general rule, if the Unity version you have is more recent than the Unity version of the project, you will not have issues opening the project, although it will need to go through a conversion process.
If you are working on a team, it is highly recommended that everyone on your team works in the same Unity version. You can install more than one Unity version on your computer using Unity Hub.
See the lesson Unity Collab for more information about setting up Unity Collab. For more detailed information, see the Unity Collaborate Documentation.
You can follow these steps to troubleshoot if you don't see a project shared through Unity Collab.
1. Ask the person who shared the project with you to confirm that you both have access to the project and have a Unity seat in their Collab organization.
2. Make sure that you are logged into Unity Hub with the same account that was invited to the project.
3. Check your email for information about access to the Unity Collab project.
4. If there is a button to refresh Unity Hub, click that button.
5. Log out of Unity Hub and log back in with your account.
Managing merge conflicts can be difficult. The best way to prevent merge conflicts is to communicate with your teammates what you are working on to ensure you are not both working on the same files.
If you have a merge conflict, Unity Collab will give you the option to take your teammate's changes, your own changes, or attempt to merge the changes. Unless you have experience with resolving merge conflicts, we recommend that you decide one person's changes to remove.
Here are some tips for managing merge conflicts for different types of files.
Scene Merge Conflicts
If you have a scene merge conflict, two team members were working on the same scene at the same time. To prevent this type of conflict, ensure you communicate with your team members which scenes you are working in.
Talk with your teammate to determine the scope of work they did on the scene. You should plan to resolve the conflict based on who will need to do more rework.
If you want to save scene-related work, you can always take objects that are on the scene and turn them into Prefabs by dragging them into the Project view. After the conflict is resolved, those prefabs can be placed on the scene at the same place they were before the merge conflict.
Code Merge Conflicts
If you have a code merge conflict, you can merge the the changes together if you have a merge tool on your computer. If you do not have a merge tool, open the code and copy the changes you want to save into a text document. Then, resolve the changes and determine the updates which need to be remade inside the script.
Other Asset Merge Conflicts
For art, sound, and prefab assets, you can copy those files out of the project before completing the merge. After the merge is complete, you can determine which changes need to be brought back into the project.
For more advanced techniques in resolving merge conflicts, you can review the Unity resolving file conflicts documentation.
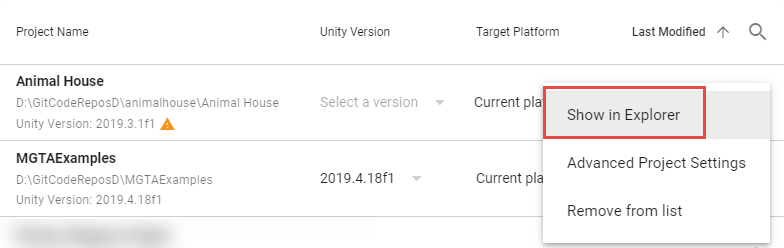
Click the three dots button and select Show in Explorer. This will show you the folder which contains your Unity project. Delete the folder and the project will be removed from your computer.
After you delete the folder, the next time you open Unity Hub it will not appear in the projects list.
After you delete the folder, the next time you open Unity Hub it will not appear in the projects list.