Setup Guide
A guide on how to setup your own computer for game development with Unity3D.
Introduction
Before taking the course, it is necessary to complete this guide in order to make sure your computer evironment is ready.
In terms of computers, an environment is just the state of the computer based on the software, hardware and settings that it has.
Therfore you must make sure that your computer's hardware, software and settings are compatible and configured correctly.
Computer Requirements
Game development can be intensive on a computer. Therefore you need to make sure that your computer has sufficient requirements.
| Minimum Requirements | Windows | macOS |
|---|---|---|
| Operating System Version (You can check your operating system here for Windows or here for Mac) | Windows 7 (SP1+) and Windows 10, 64-bit versions only. | Sierra 10.12.6+ |
| System Type (You can check your system type here for Mac and Windows ) | 64 bit | 64 bit |
| Graphics API (Check DirectX (DX) version for windows here or check Mac GPU here) | DX10, DX11, and DX12-capable GPUs | Intel and AMD GPUs |
| Mouse | Mouse (Trackpad not sufficient) | Mouse (Trackpad not sufficient) |
| Internet Speed (You can check your internet speed at speedtest.net) | 8 Mbs Download | 8 Mbs Download |
Software
There are many different software, tools and packages that are used for game development.
In this course we are using Unity3D and the easiest way to download the necessary software is through Unity Hub.
Unity Hub is an application that allows you to find, download and manage Unity projects and installations.
Installing Unity Hub
To get started, download Unity Hub for Windows or macOS.
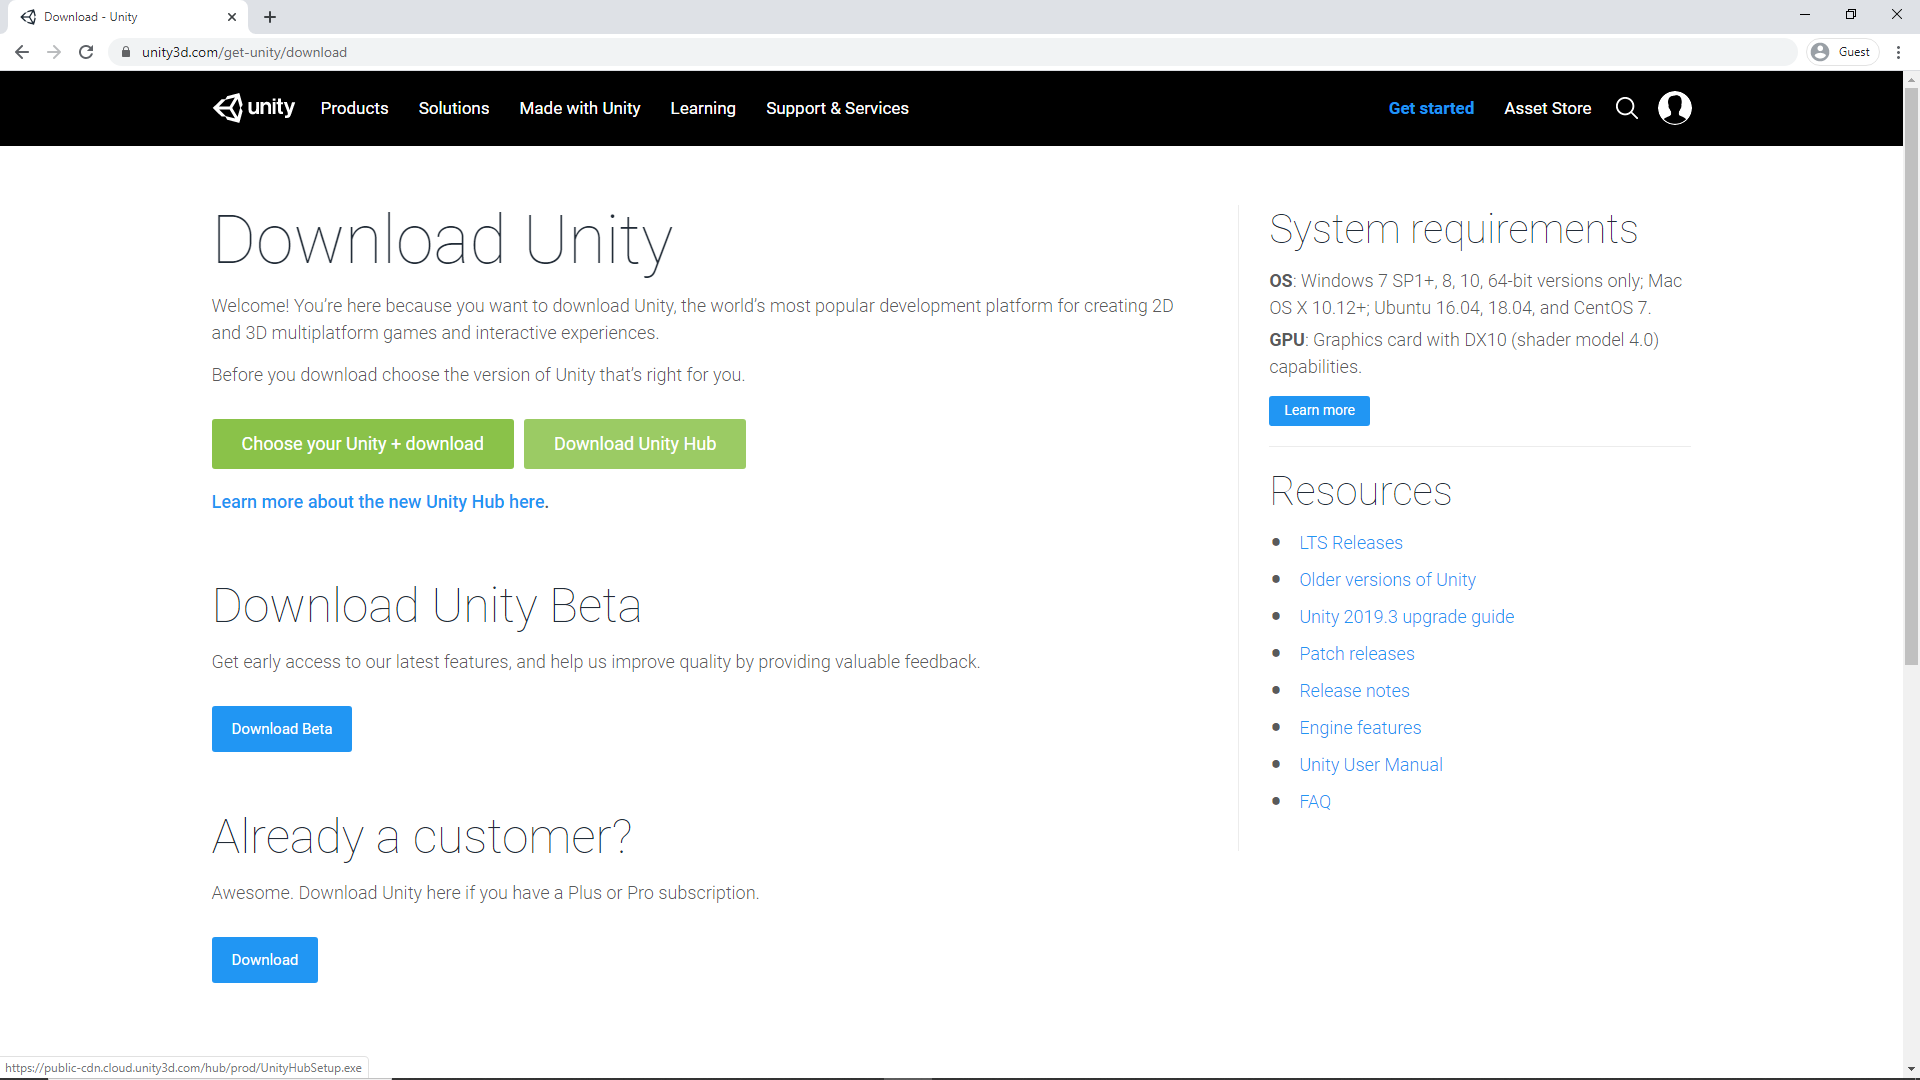
Once the download has finished, run the installer and follow the installation instructions.
Installing Unity Editor
Now that you have Unity Hub installed, you can use it to install the Unity Editor. The Unity Editor is the application used to actually create games.
First click on the Installs tab, where you will see all your installed Unity versions. (If you have no versions of Unity installed, this screen will say NO VERSION.)
To install the Unity Editor, click Add then select a version of Unity. Make sure to select version 2019.3 or higher.
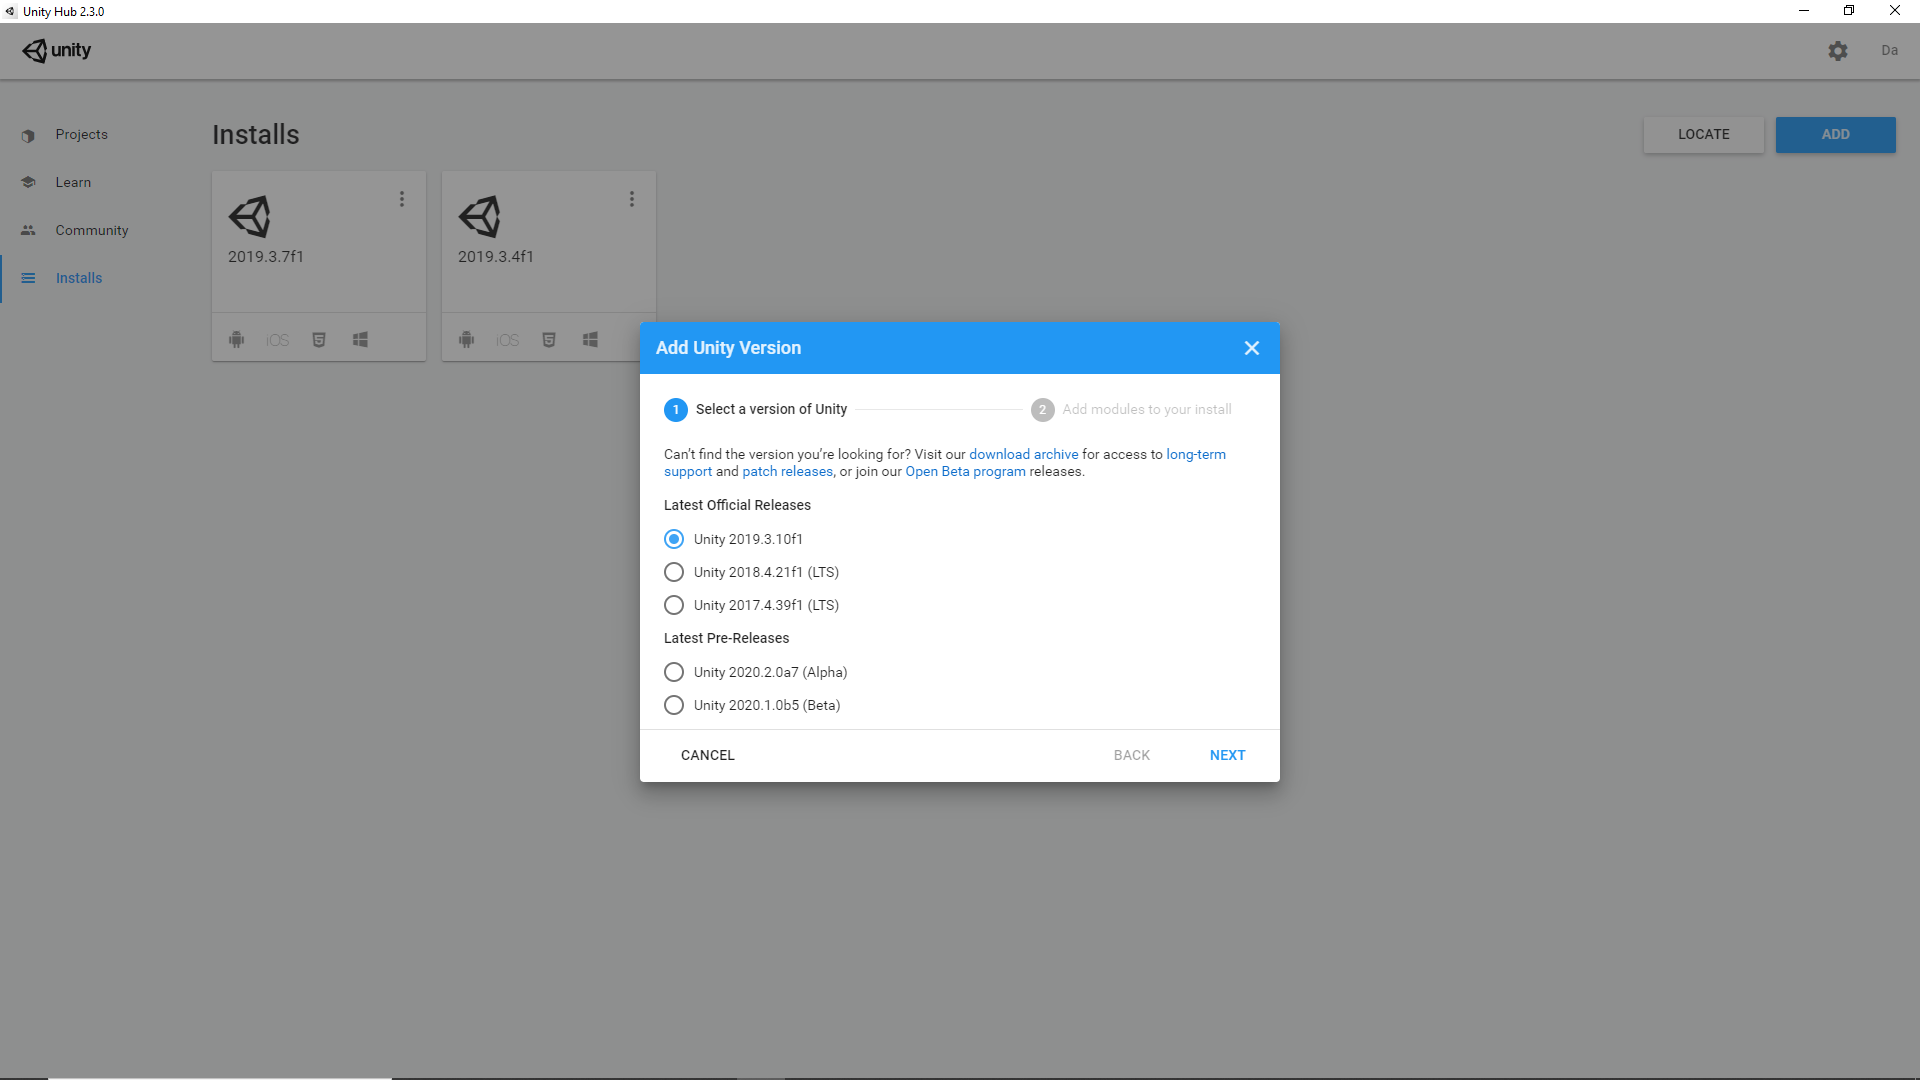
Click Next and you will see a screen where you can select the modules you want to install with the Editor.
Make sure the following modules are selected:
Mac Build Support (Mono)
WebGL Build Support
Windows Build Support
Microsoft Visual Studio Community 2019
Note: Visual Studio is an external Application by Microsoft and is used to write, edit and run scripts (code). It is the default script editor for Unity which is why you can install it from Unity Hub. This will automatically configure it with many tools to work with Unity. However, if you already have Visual Studio installed or prefer to manually install it then follow this guide here.
Click Done and the Unity Editor will be installed.
After a version of the Editor has been installed, you can add modules to it, locate its files, or uninstall it by clicking the three dots next to that Editor version.
You are now ready to start making games in Unity!